Have you ever seen nasty scratches in your paint and wondered, "Oh man that's probably impossible to fix and I wish I could do something about it." ????
Have you ever bought a car and found a spot incidentally after the purchase and thought, "Oh god... well that'll be a pain to fix and everyone is going to see that." ???
Well, the good news is, if your clearcoat is in good shape, and you have some patience, it's likely you can fix that, or at least improve it significantly.
Now, if you've never done any kind of paint work ever, my recommendation is maybe go spraypaint something and spray a clearcoat over it, practice on that. Make some silly scratches that aren't super deep, simulate a scuff or something, and try this technique on that. Maybe you've got a piece of sheet metal you could primer, paint, and clear. That's a good way to practice without making an "OOPS" your first time doing this on a car.
If on the other hand you're familiar with doing some things on cars and you've just not ever got far enough to need to set sand and cut and buff, well then, let's dive in.
Things you need:
- Buffing pads. Microfiber work great, something soft. Very soft foam pads work (These work great from the ceramic tutorial)
- Water from a hose, or a spray bottle
- Microfiber towels to dry, and remove compound
- A good buffing/cutting compound (CarPro Clearcut is good)
- A good polishing compound (I like Turtle Wax, CarPro Reflect is also good)
- 2000-3000 grit sandpaper (needs to be wet sand sandpaper)
- Cordless drill for your buffing pads (you can literally use a basic drill for this)
- Something to put your sandpaper around (small foam block, etc)
Step 1. Clean the surface off. You need to work with a clean surface. If you're only doing a small spot, you can clean that spot, but if you're working around something like black paint, at least clean the panel off so you don't accidentally microscratch it from rubbing up against dirty paint. Cleaner the better.
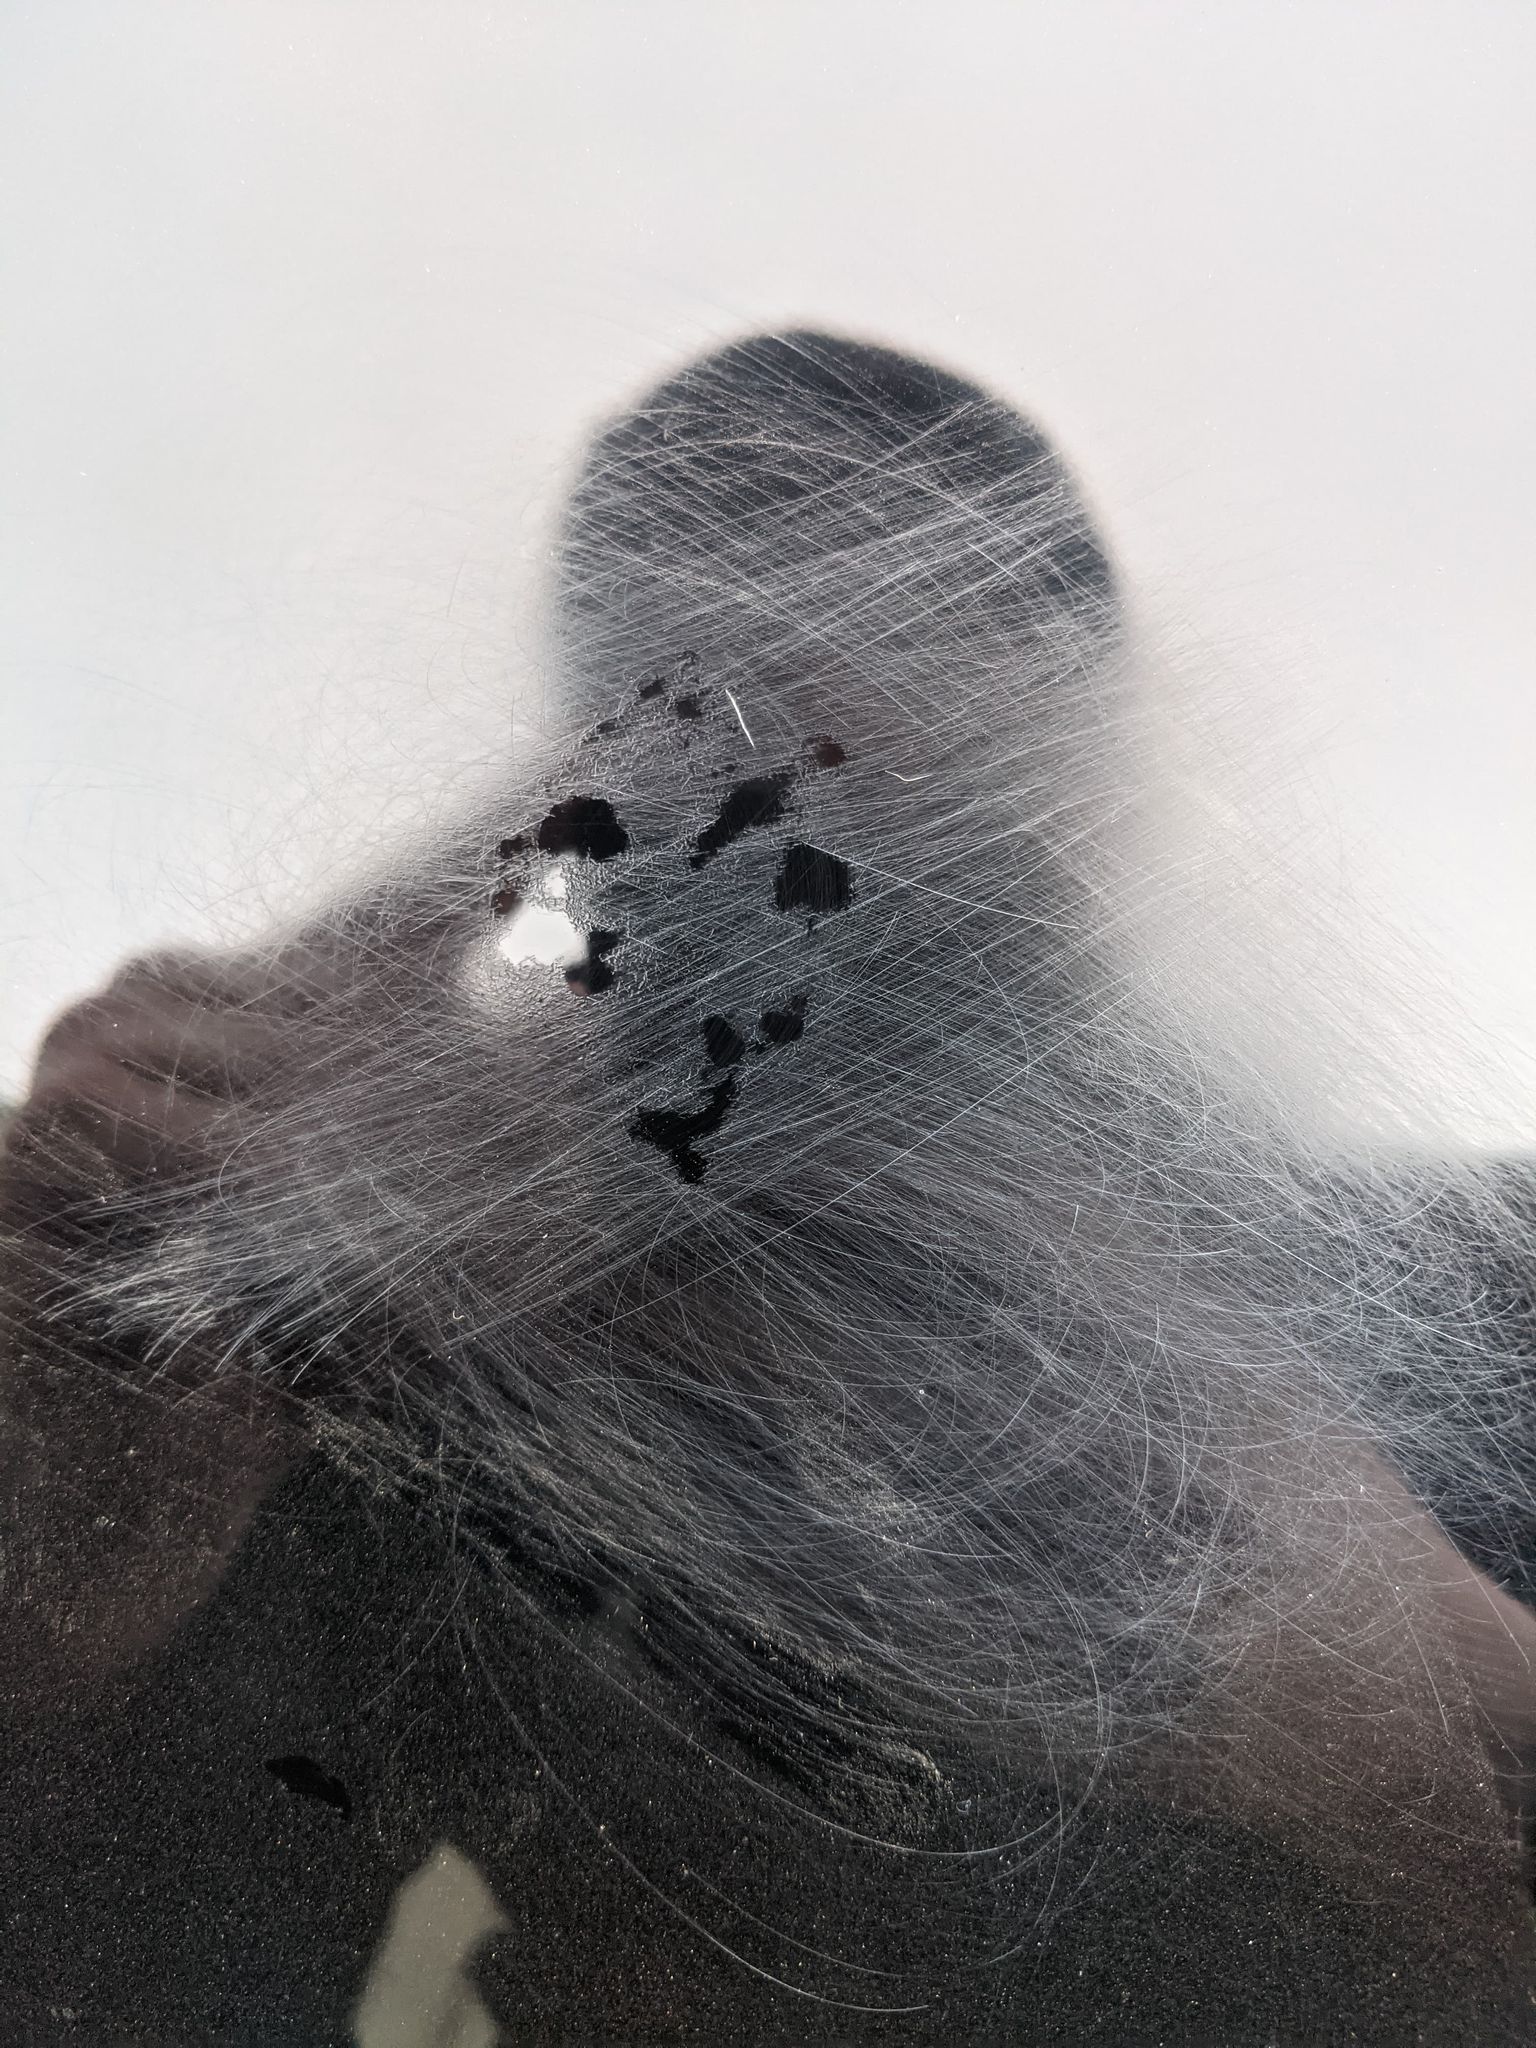
Step 2. Inspect the scratch to see what we're working with. In this picture, I hadn't cleaned it off yet, but you can see at some point during previous ownership, someone appears to have attempted to sand this dry, with very rough sandpaper. Why? Well, hell if I know. As you can see, this was very aggressive, and never followed up. Even worse, there were 5 spots on the car like this. It appears that maybe something was stuck to the paint and they figured this was how to get it off best. Sadly, they were very very noticeable.
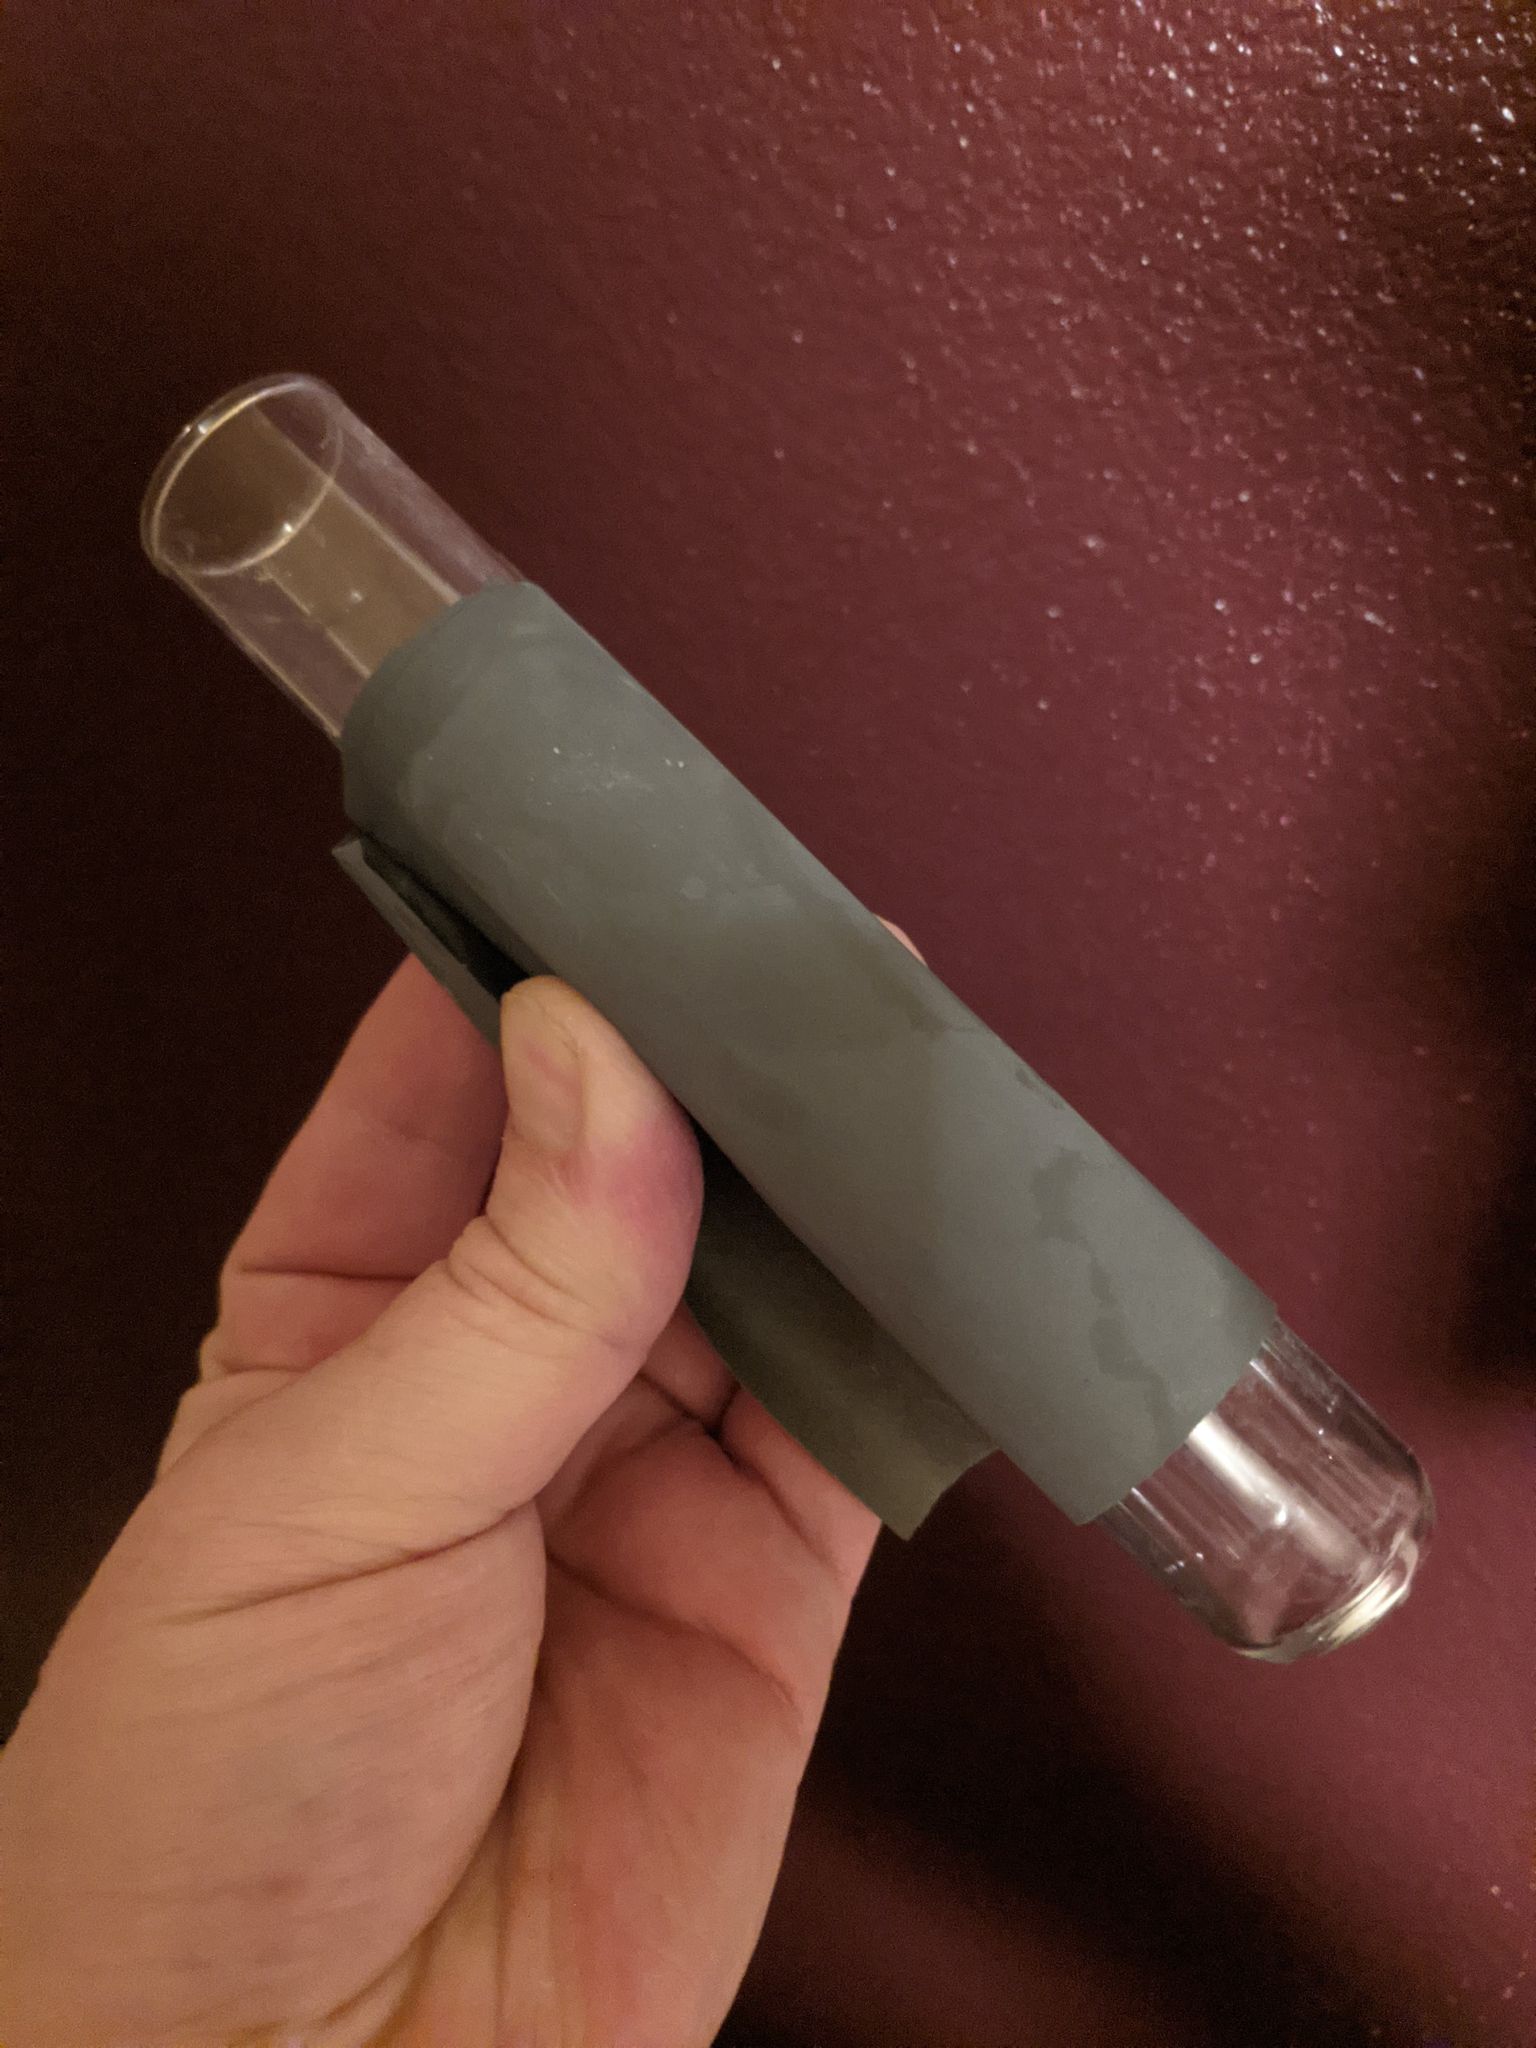
Step 3. Let's prep the sandpaper. Now, in my case, I don't have any foam blocks small enough for what I'm after. However, I do have a very nice, smooth, glass cigar tubo that's nice and straight. So I wrapped my sandpaper around that. This ends up not making tons of contact, acts like a straight edge, and makes it so I'm not removing lots of material. A block will make more contact and remove more at once, but if you're taking it easy, it's fine. Now, we need to spritz it, or hose it down with water. Get it nice and wet. Make sure it's tight around the block/pad/object you are using. The important thing is to make sure that it's straight.
Step 4. Wet the surface you're going to sand. If you're using the hose, just get it nice and wet. Or with a water bottle, spray it down so the area is wet. Do NOT let it dry out. If you're sanding and notice the water is starting to bead off, or drying up, spray some more.
Step 5. We're going to go across our scratched area depending on how the scratch is. If the scratch is light and goes in one direction, we want to cross the length of it with slight adjust and up strokes. If the scratch is circular, we are best doing this, and then turning 90 degrees, and repeating, since the scratch is in all directions.
In this horrific mspaint illustration, you can see we start from the top, moving down at a slight angle, then coming nearly straight up, and we will repeat this until we are to the end of the scratch. Now, it is critical while you are sanding this to keep your block, or pad, flat, and not to apply hardly any pressure. You want to be able to ever so slightly feel it making contact, but don't want to "press" on it. Think of it like you want the weight of your pad, block, etc, to be the pressure that is gliding it across the clearcoat.
As you make your first pass, wipe the water off with a clean microfiber towel and look at your progress. You should see a nice reduction, and if the scratch is light, one pass may be just enough. For deeper scratches, it may be necessary to do this pattern across the direction of the scratch instead to work some of the coarse material out of it. Keep in mind, DEEP scratches are very close to the basecoat, and very risky to perform sanding on, lest you potentially break through it.

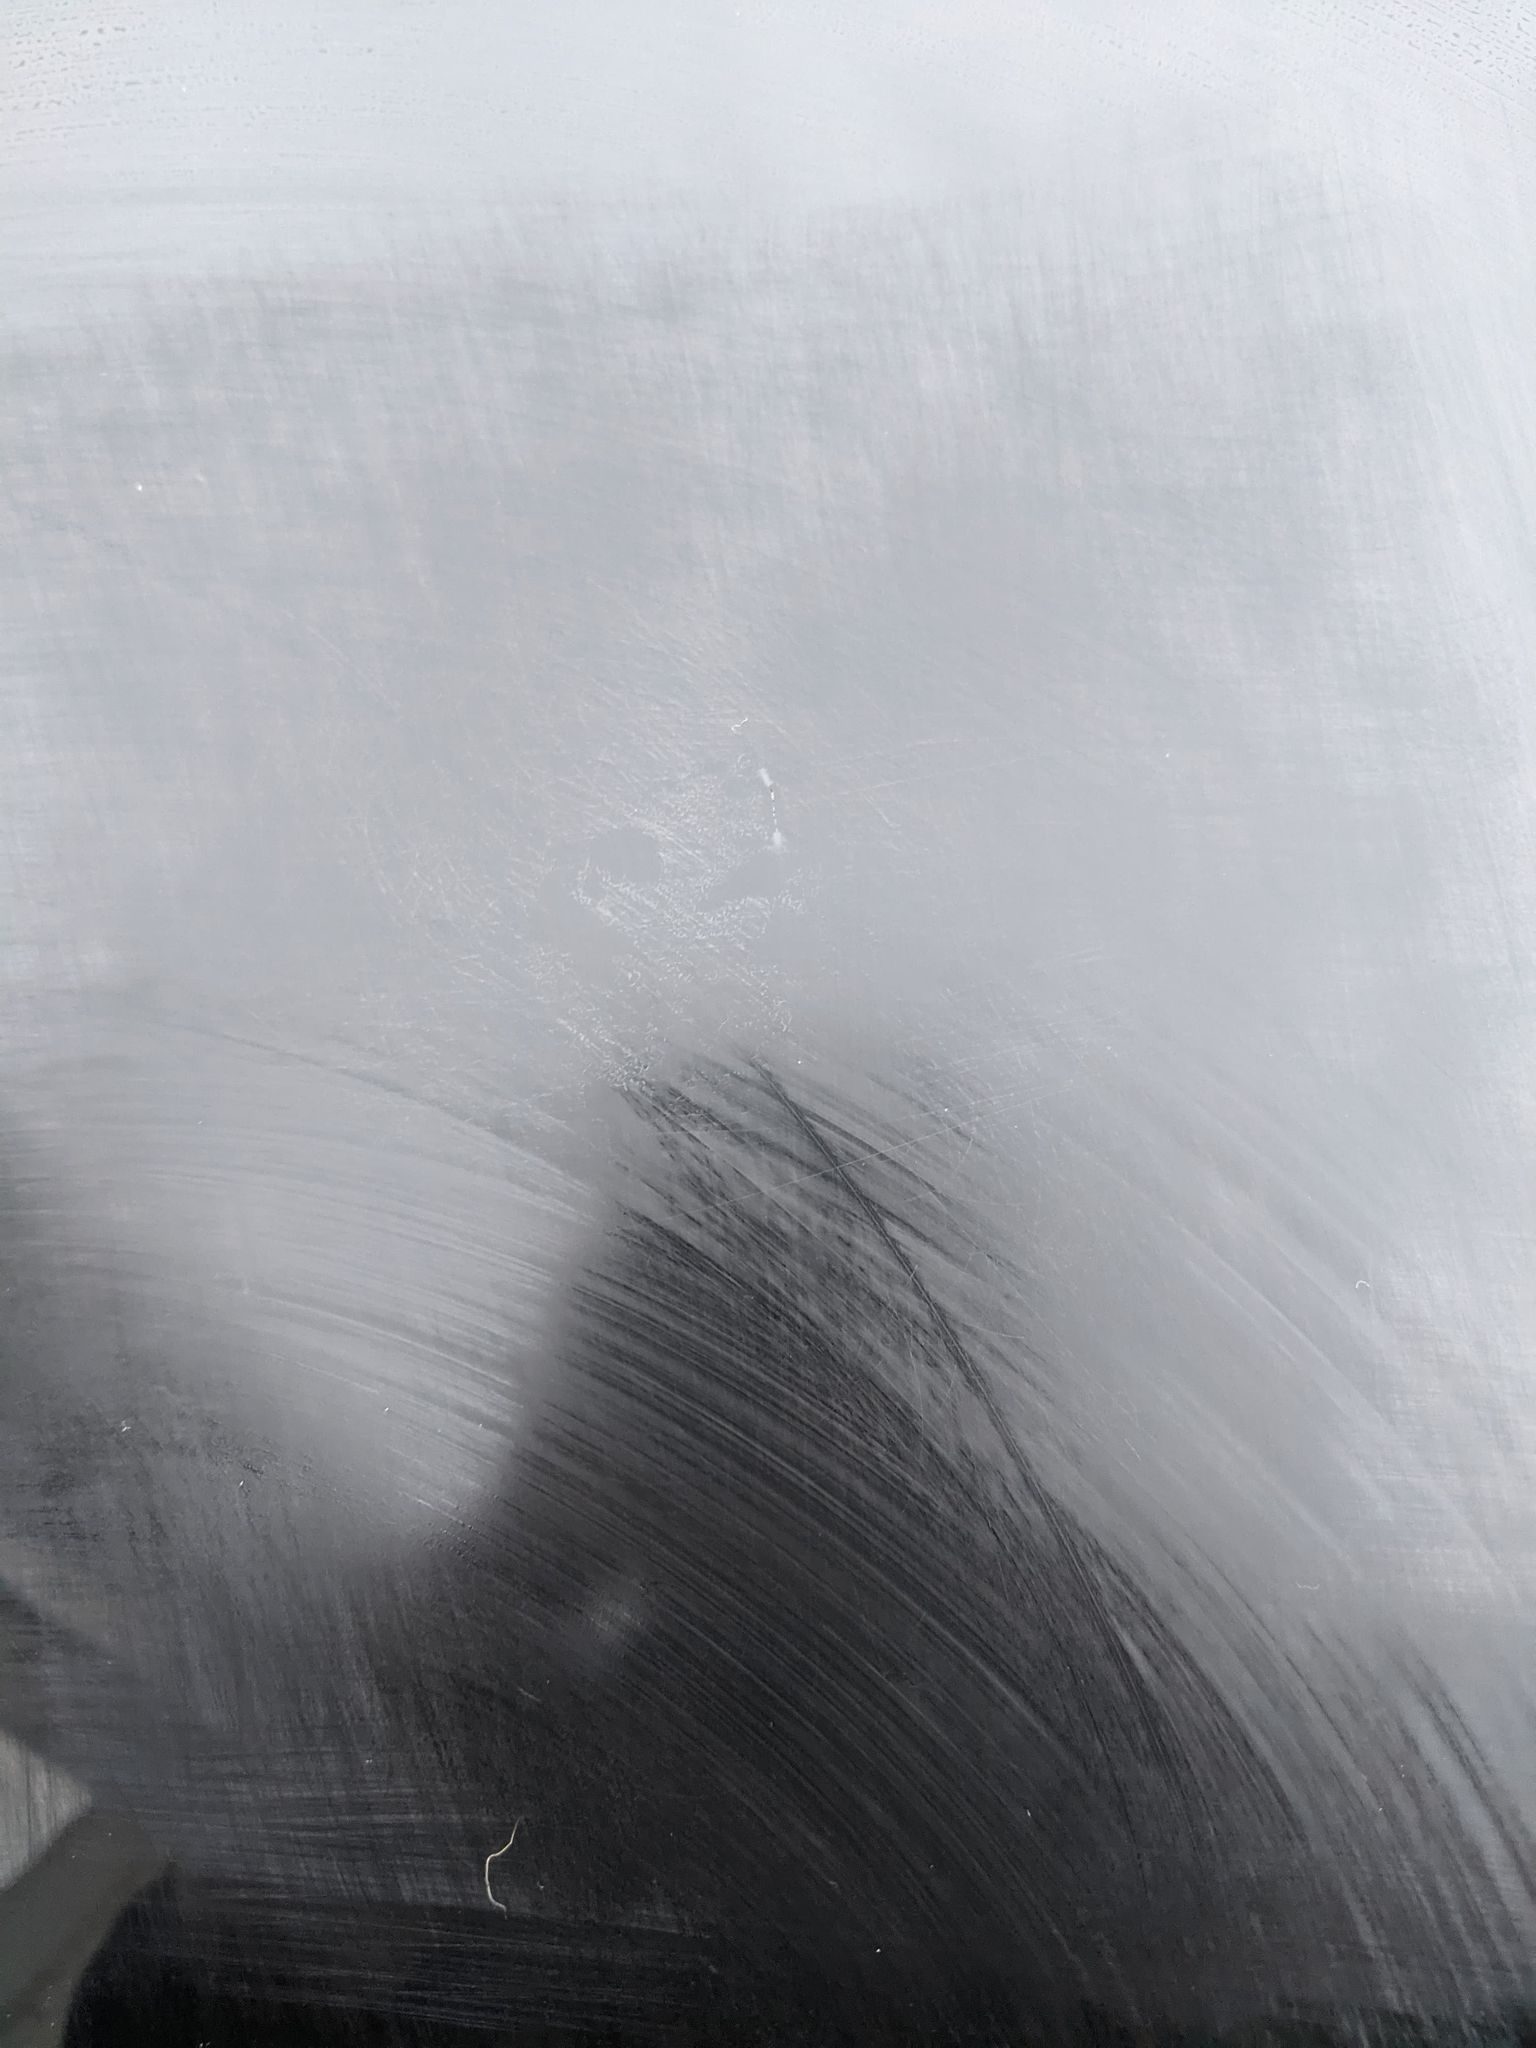
Step 6. INSPECT. Now, here you can see I've wiped the water off, after sanding, and we can see there is still some DEEP scratches. Without bringing this clearcoat dangerously low, I will likely never be able to fully get these out. But, we can cross sand due to this being a swirl pattern, and I can drastically improve how it looks. Now, if you've not done this before, you're probably looking at this going, "That's more noticeable than when you started!" Ah, yes, it is! BUT, 2000-3000 grit sandpaper (or in this case, 2500), leaves very very fine scratches which are very very easy to buff out.
In this case, I went sanding 2 more times before I was satisfied with the scratches enough. I was not aggressive to the point of knocking it dangerously low, but did go further than this.
Step 7. Once you have confirmed that you can't really see your scratch anymore, or for deeper scratches you are happy with your progress and know you haven't traveled too far into the clear, it's time to use a cutting compound. Always recommended to use a soft or microfiber pad. You don't want something that's going to be more abrasive than your compound, obviously.
The key to a cutting compound is to again, use light pressure, and make sure to utilize the direction of your choice of compound. Some will recommend dry, some will recommend wet. Some will say to make one pass, some will say to make several. Each brand will have some specific instructions. The important thing to remember is that a cutting compound will STILL look hazy because it is an abrasive, and we will be polishing after that. It is of course, always crucial to make sure you do not burn through your clearcoat. Meaning, don't stay in one spot too long, don't use so much pressure you cause friction (AKA pad getting too hot and drying it up), and don't run the speed on mach 10.
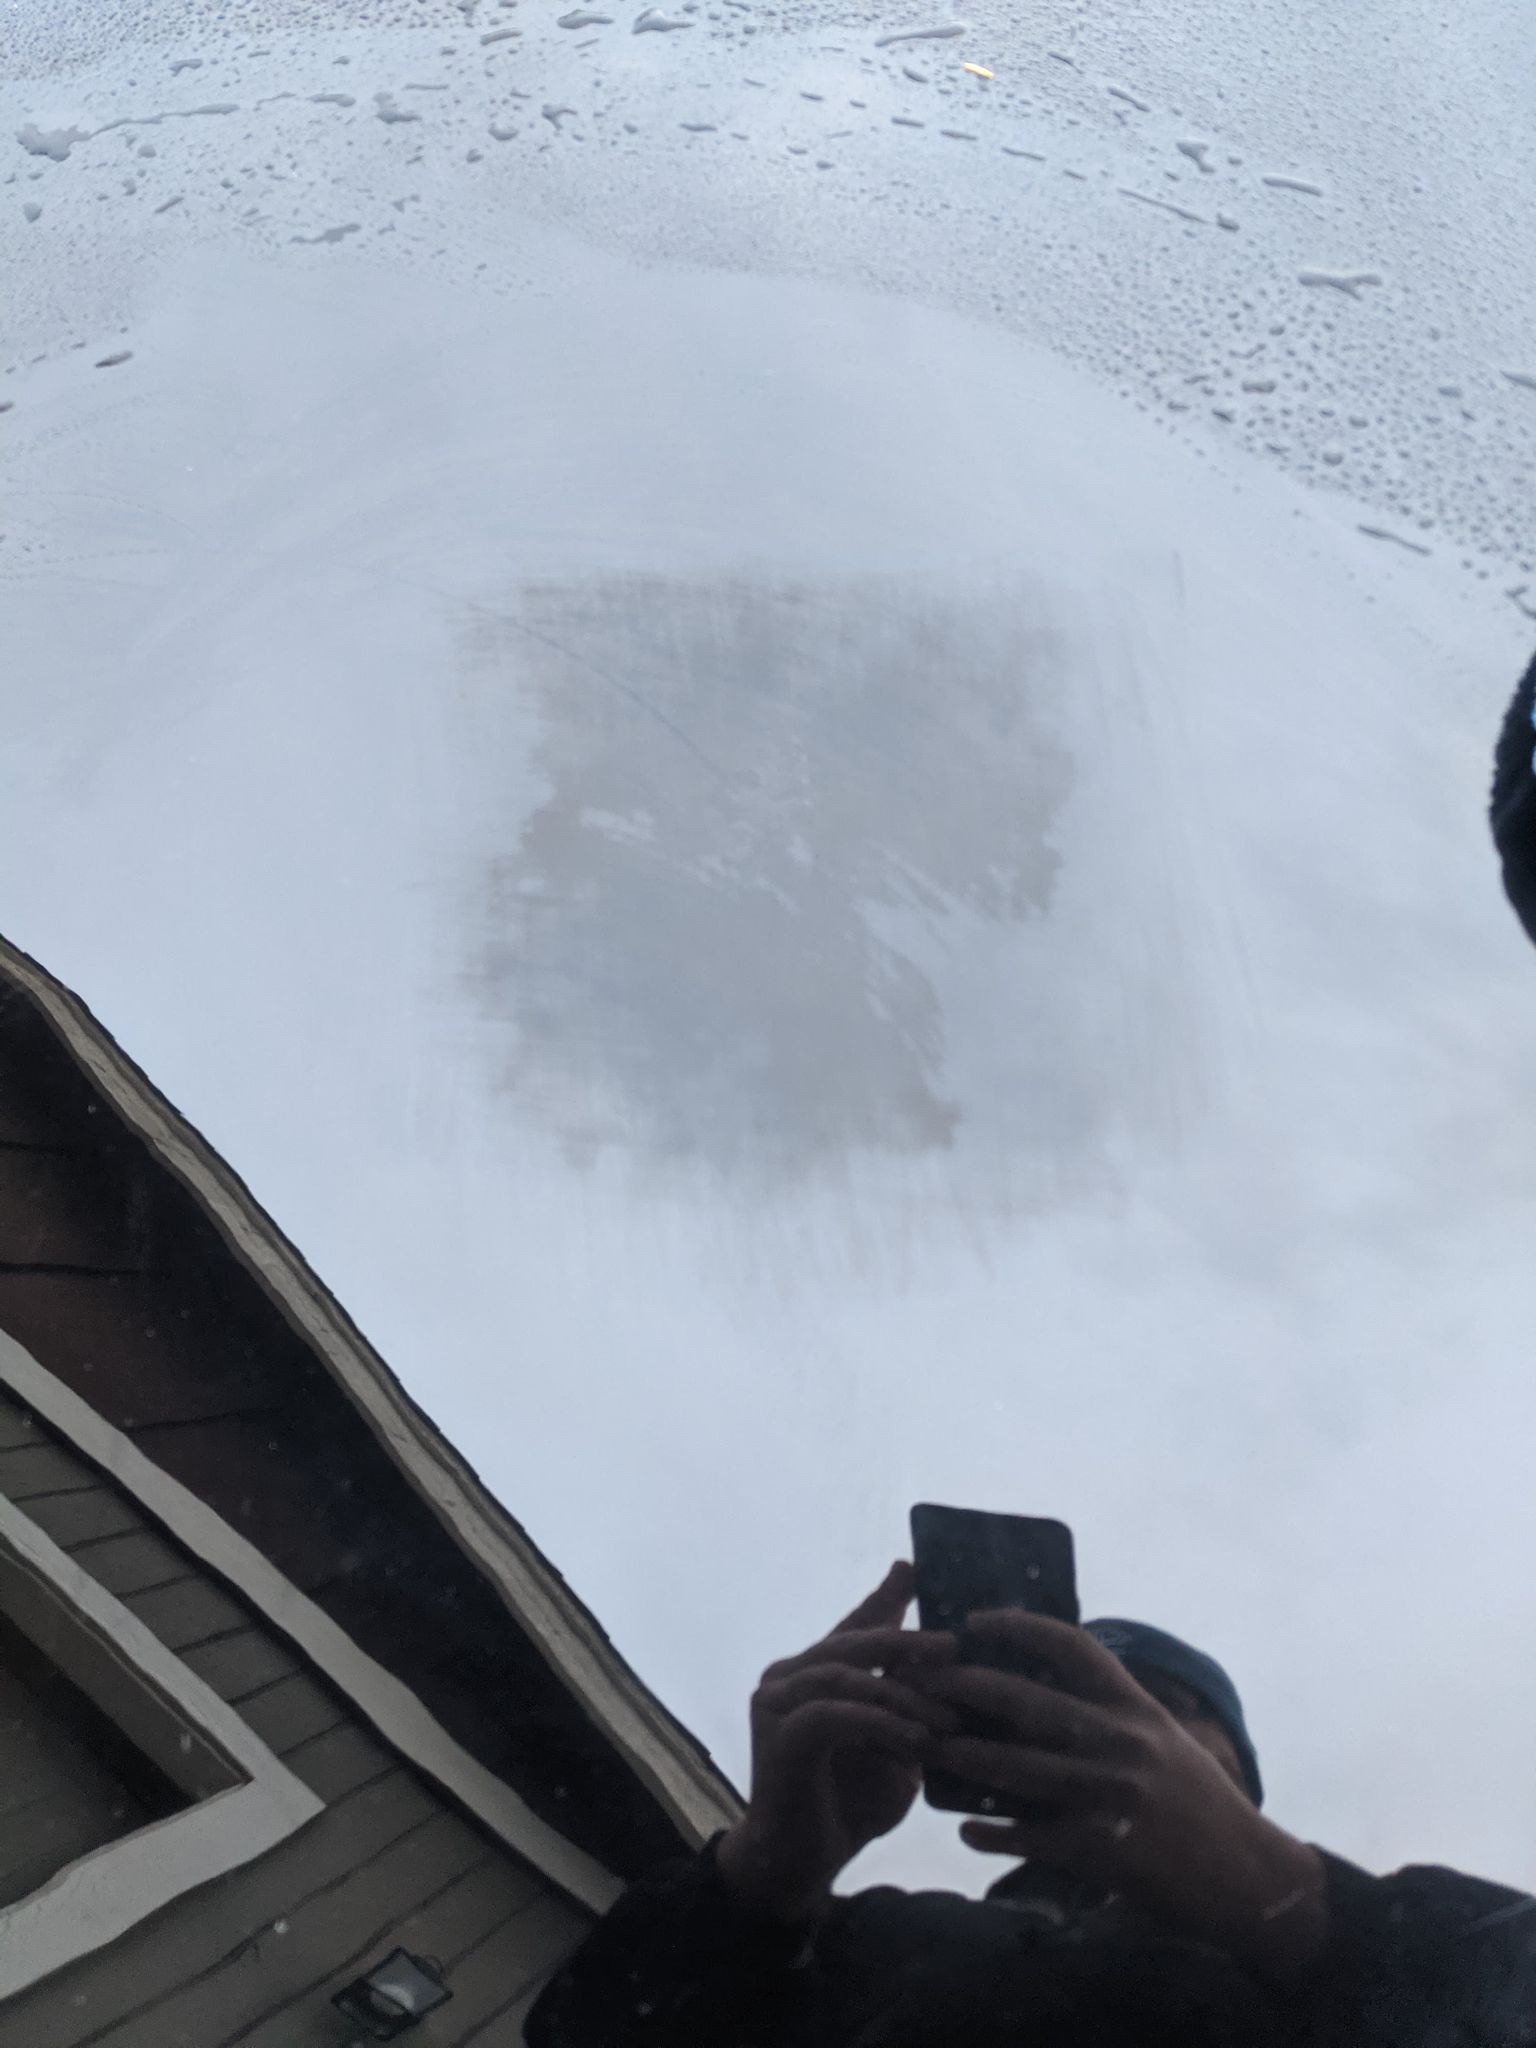
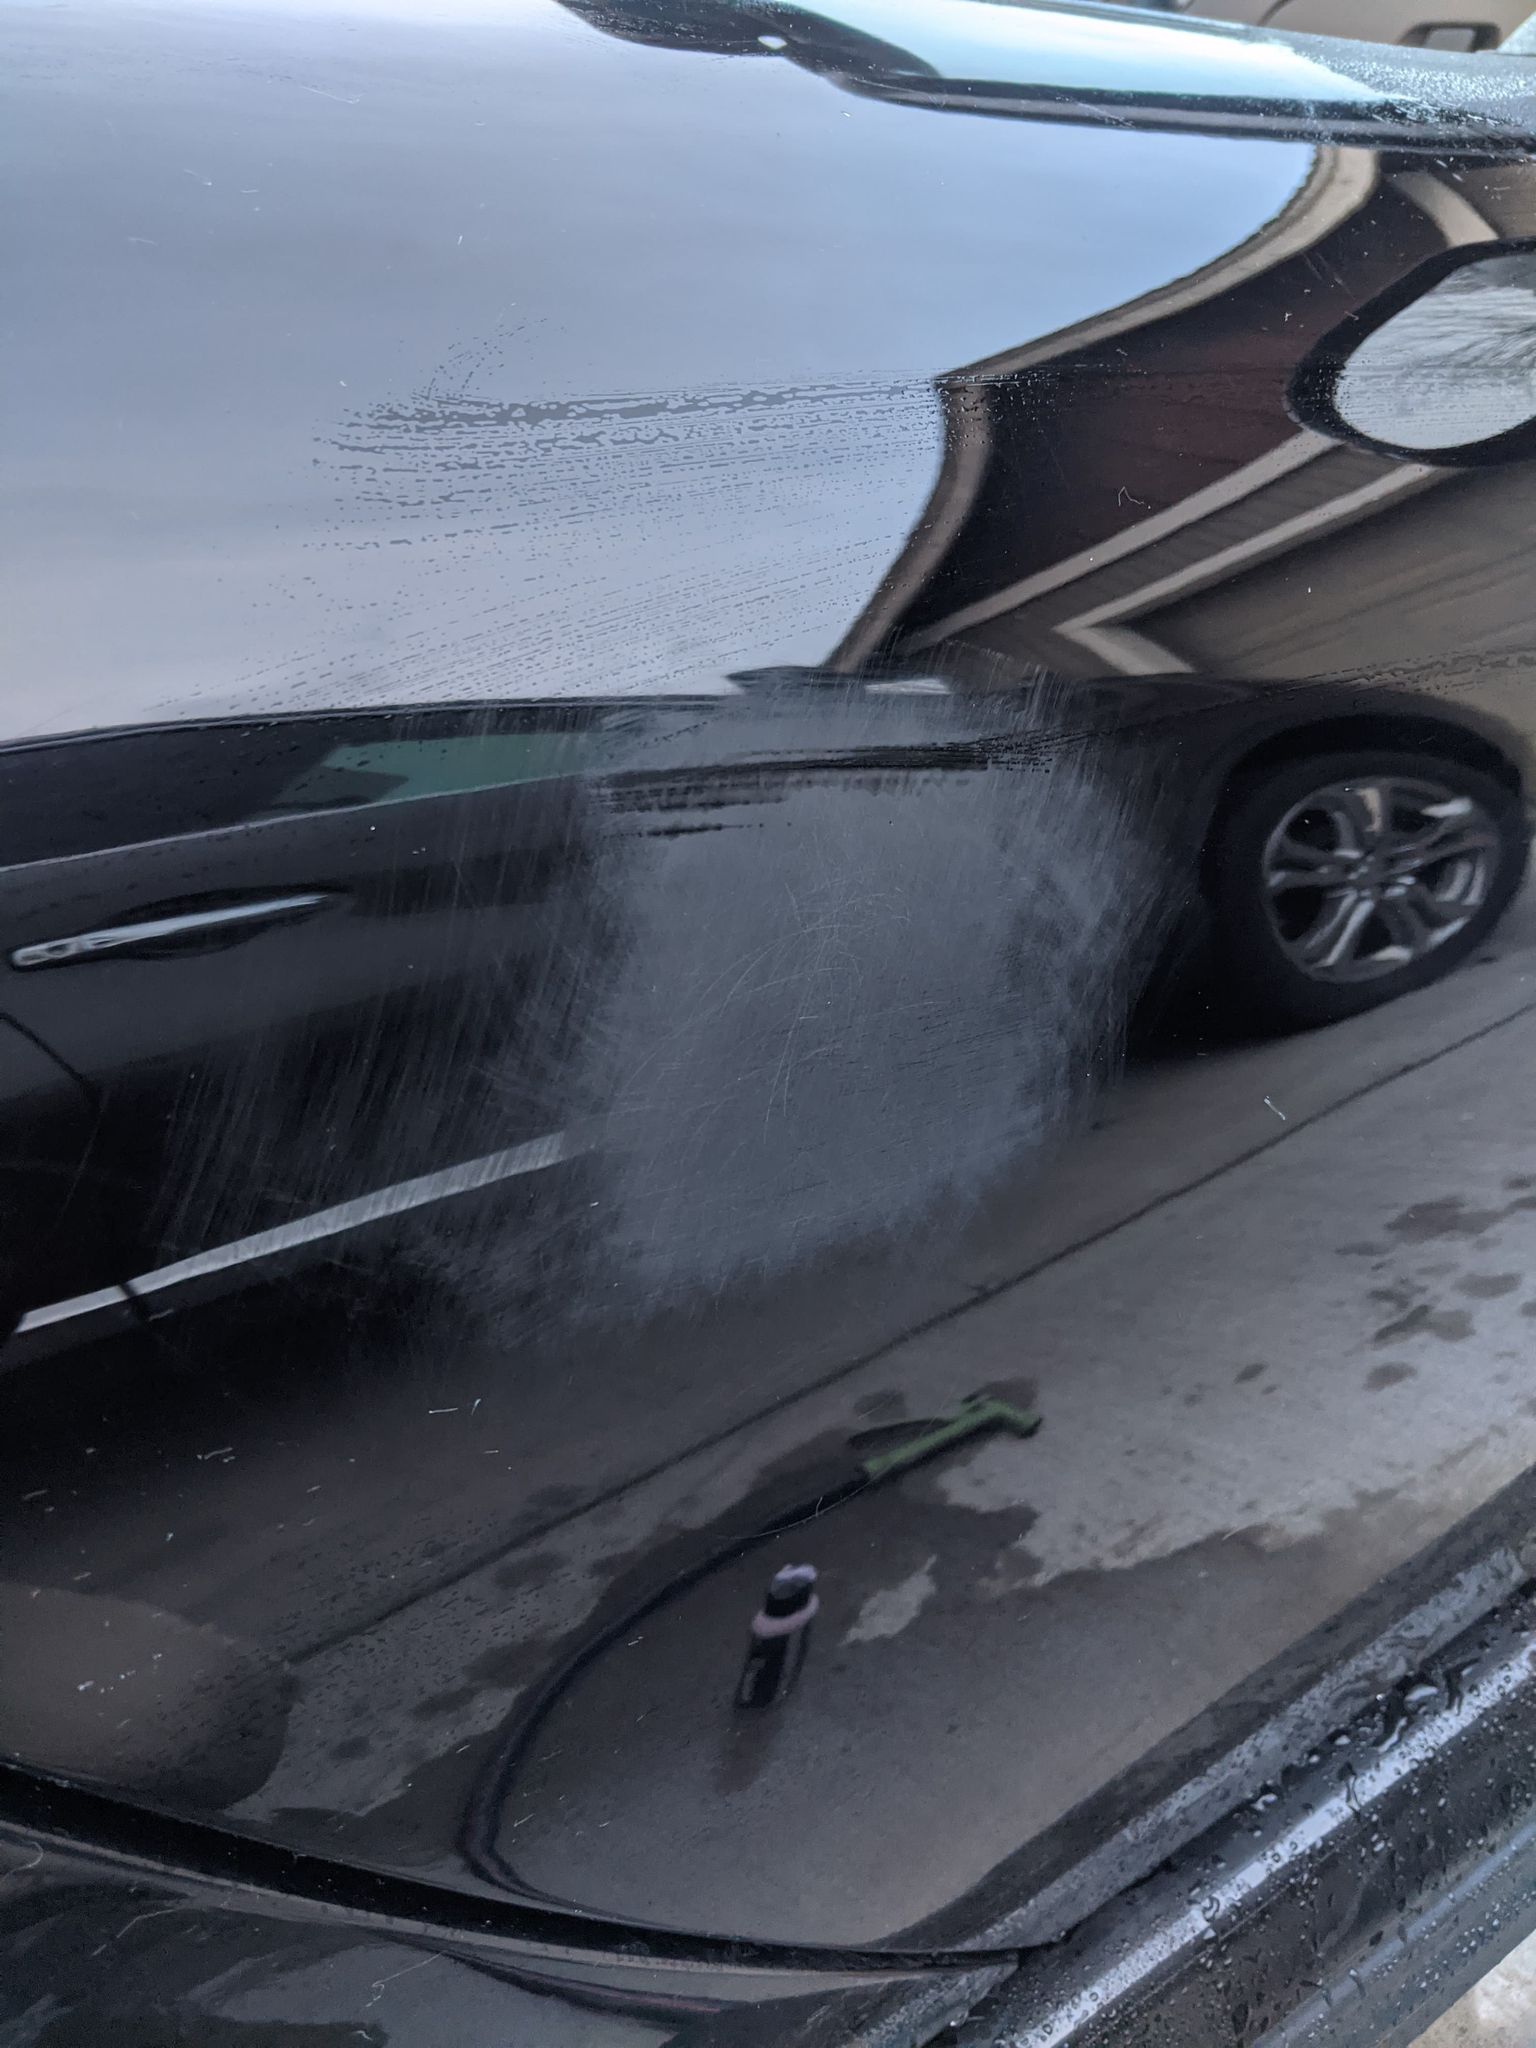
Here's the paint on my viper after the wet sanding, and a cut compound, 1 pass. Now, I did 2 more passes after this, but went full derp and forgot to take a photo. But you can see already the edges of what were sanded hazy before now just look blurry and wet.
Step 8. POLISH.
Ok so now that we've got the cutting done, that should have removed all of the sanding scratches and left us with light abrasion haze on the clear, which we're now going to polish out. Again, using the softest pad you have, be it foam or microfiber.
Make sure to again, follow the direction of whatever polish you go for. But my general rule of thumb is gentle pressure, 2-3 passes, low to medium speed, and moving a little slow. Think of the drill or buffer power moving itself across the surface at a speed that doesn't feel like you're forcing it to drag across the surface at rapid speed, but also not so slow that you're risking heating up the area or the pad.
The polish compound is intended to remove the finest scratches and do exactly that, polish the clear. This step should come out looking absolutely freaking incredible.
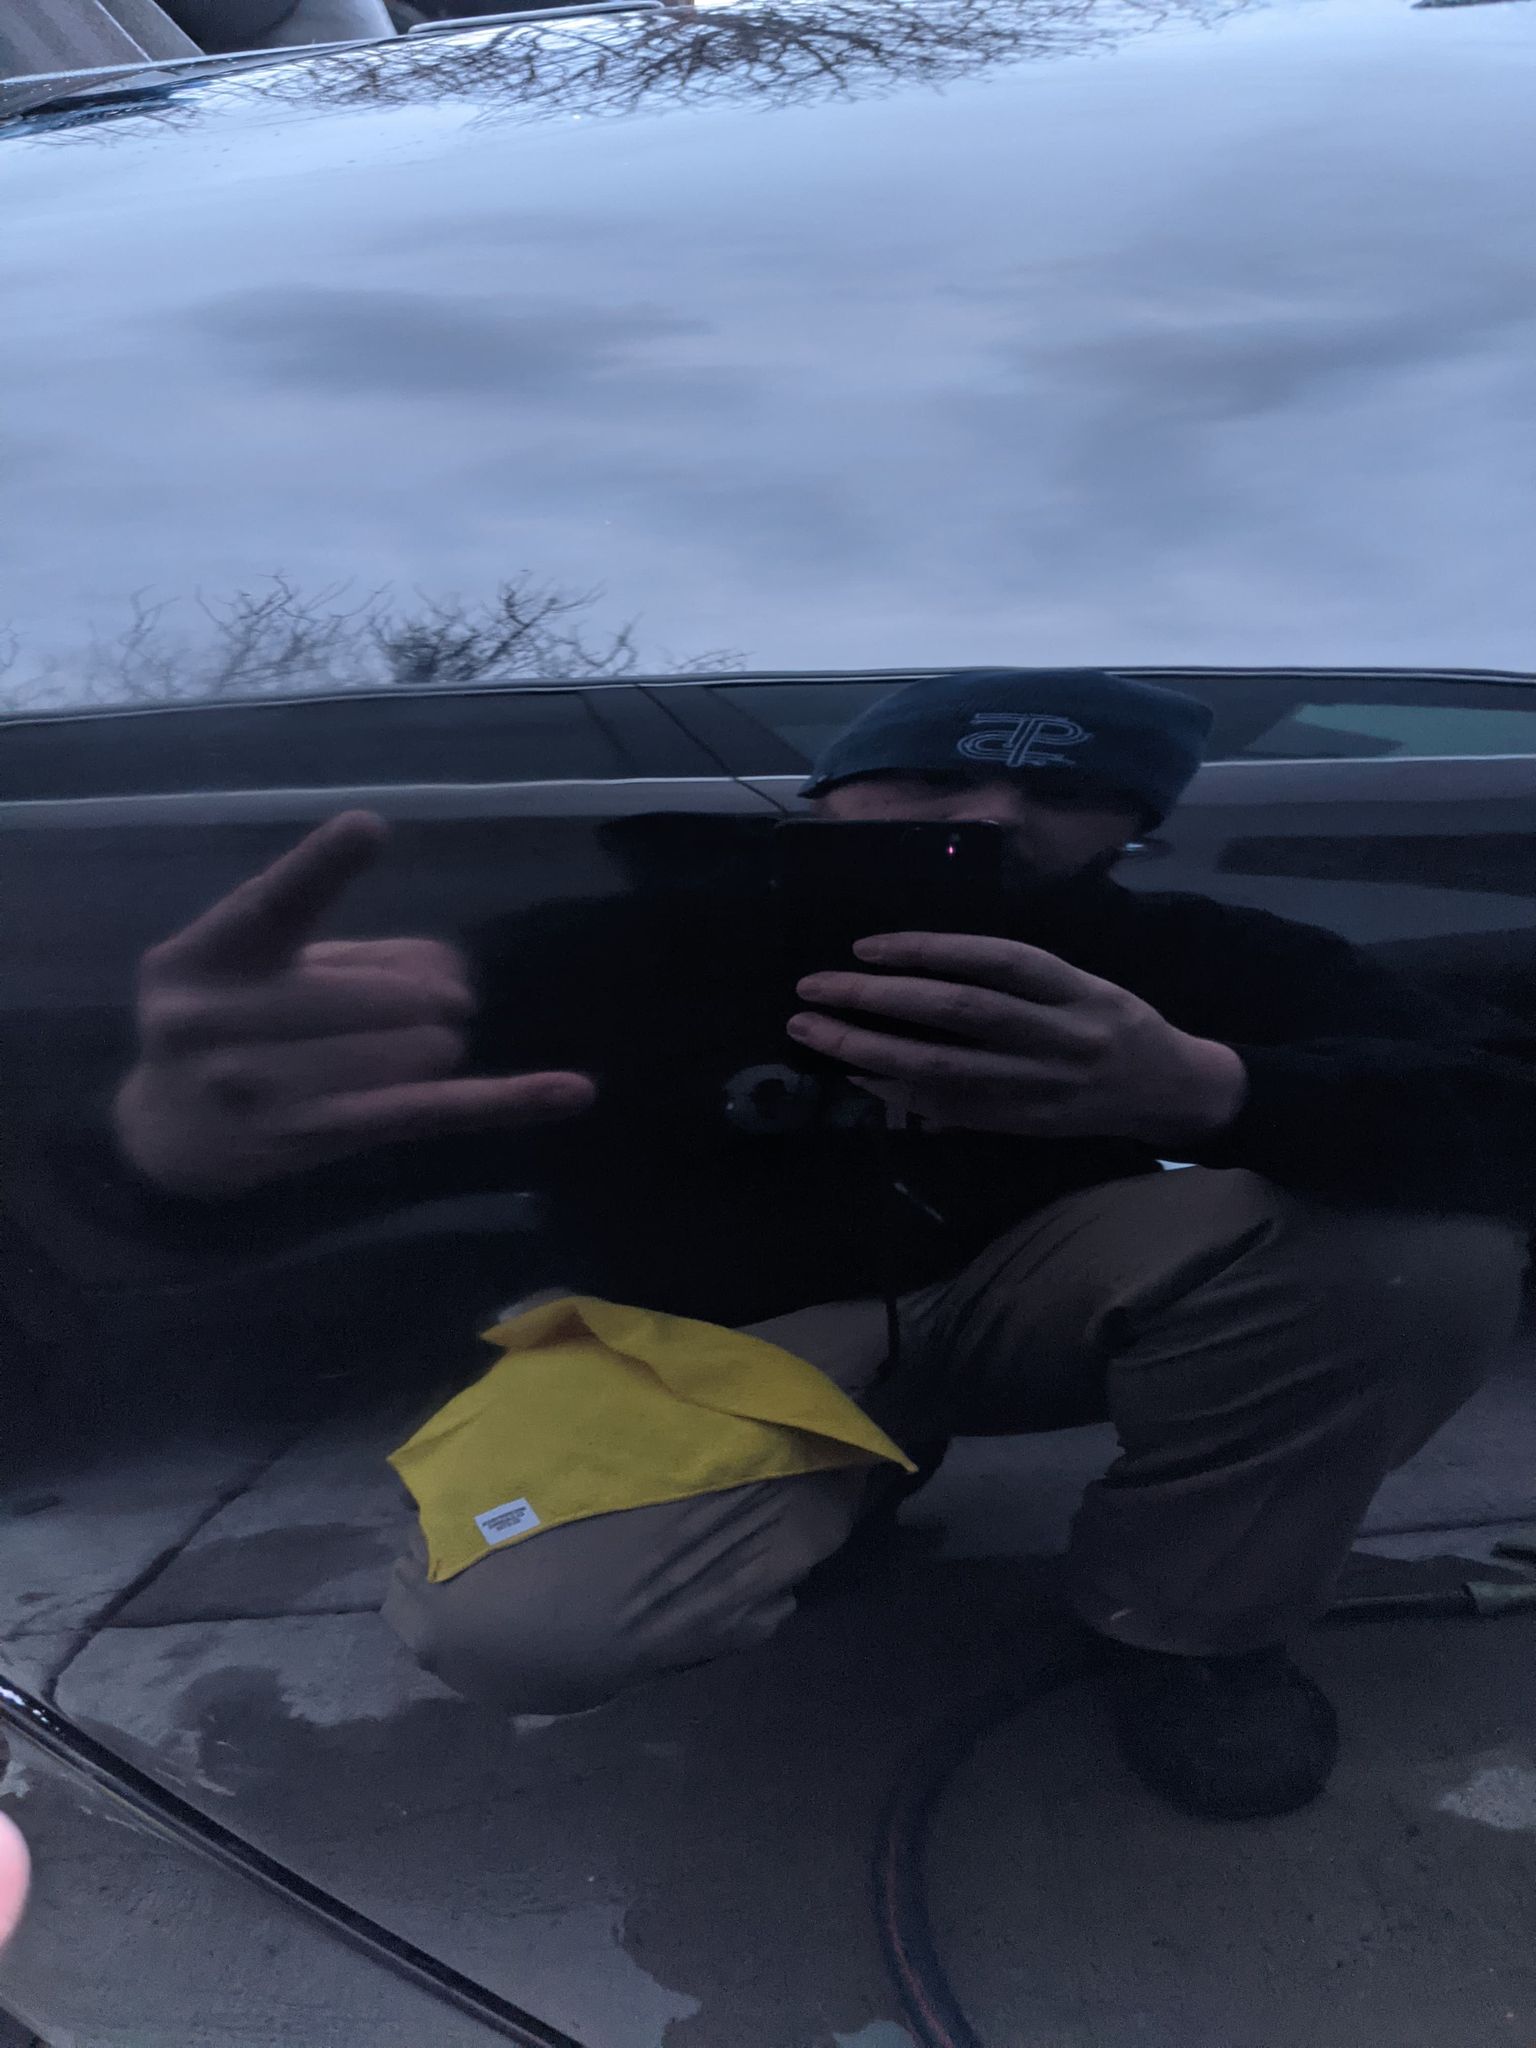
Now, you can see there's still a little haze left in this photo, but part of that is me not wiping it down properly and also needing to do maybe one more pass. Either way, if you look at step one and how bad those scratches were, that's a massive improvement, yeah? Yeah.

Some other bad spots:
THE DOOR
My camera isn't focusing all that well here, but you get the idea.
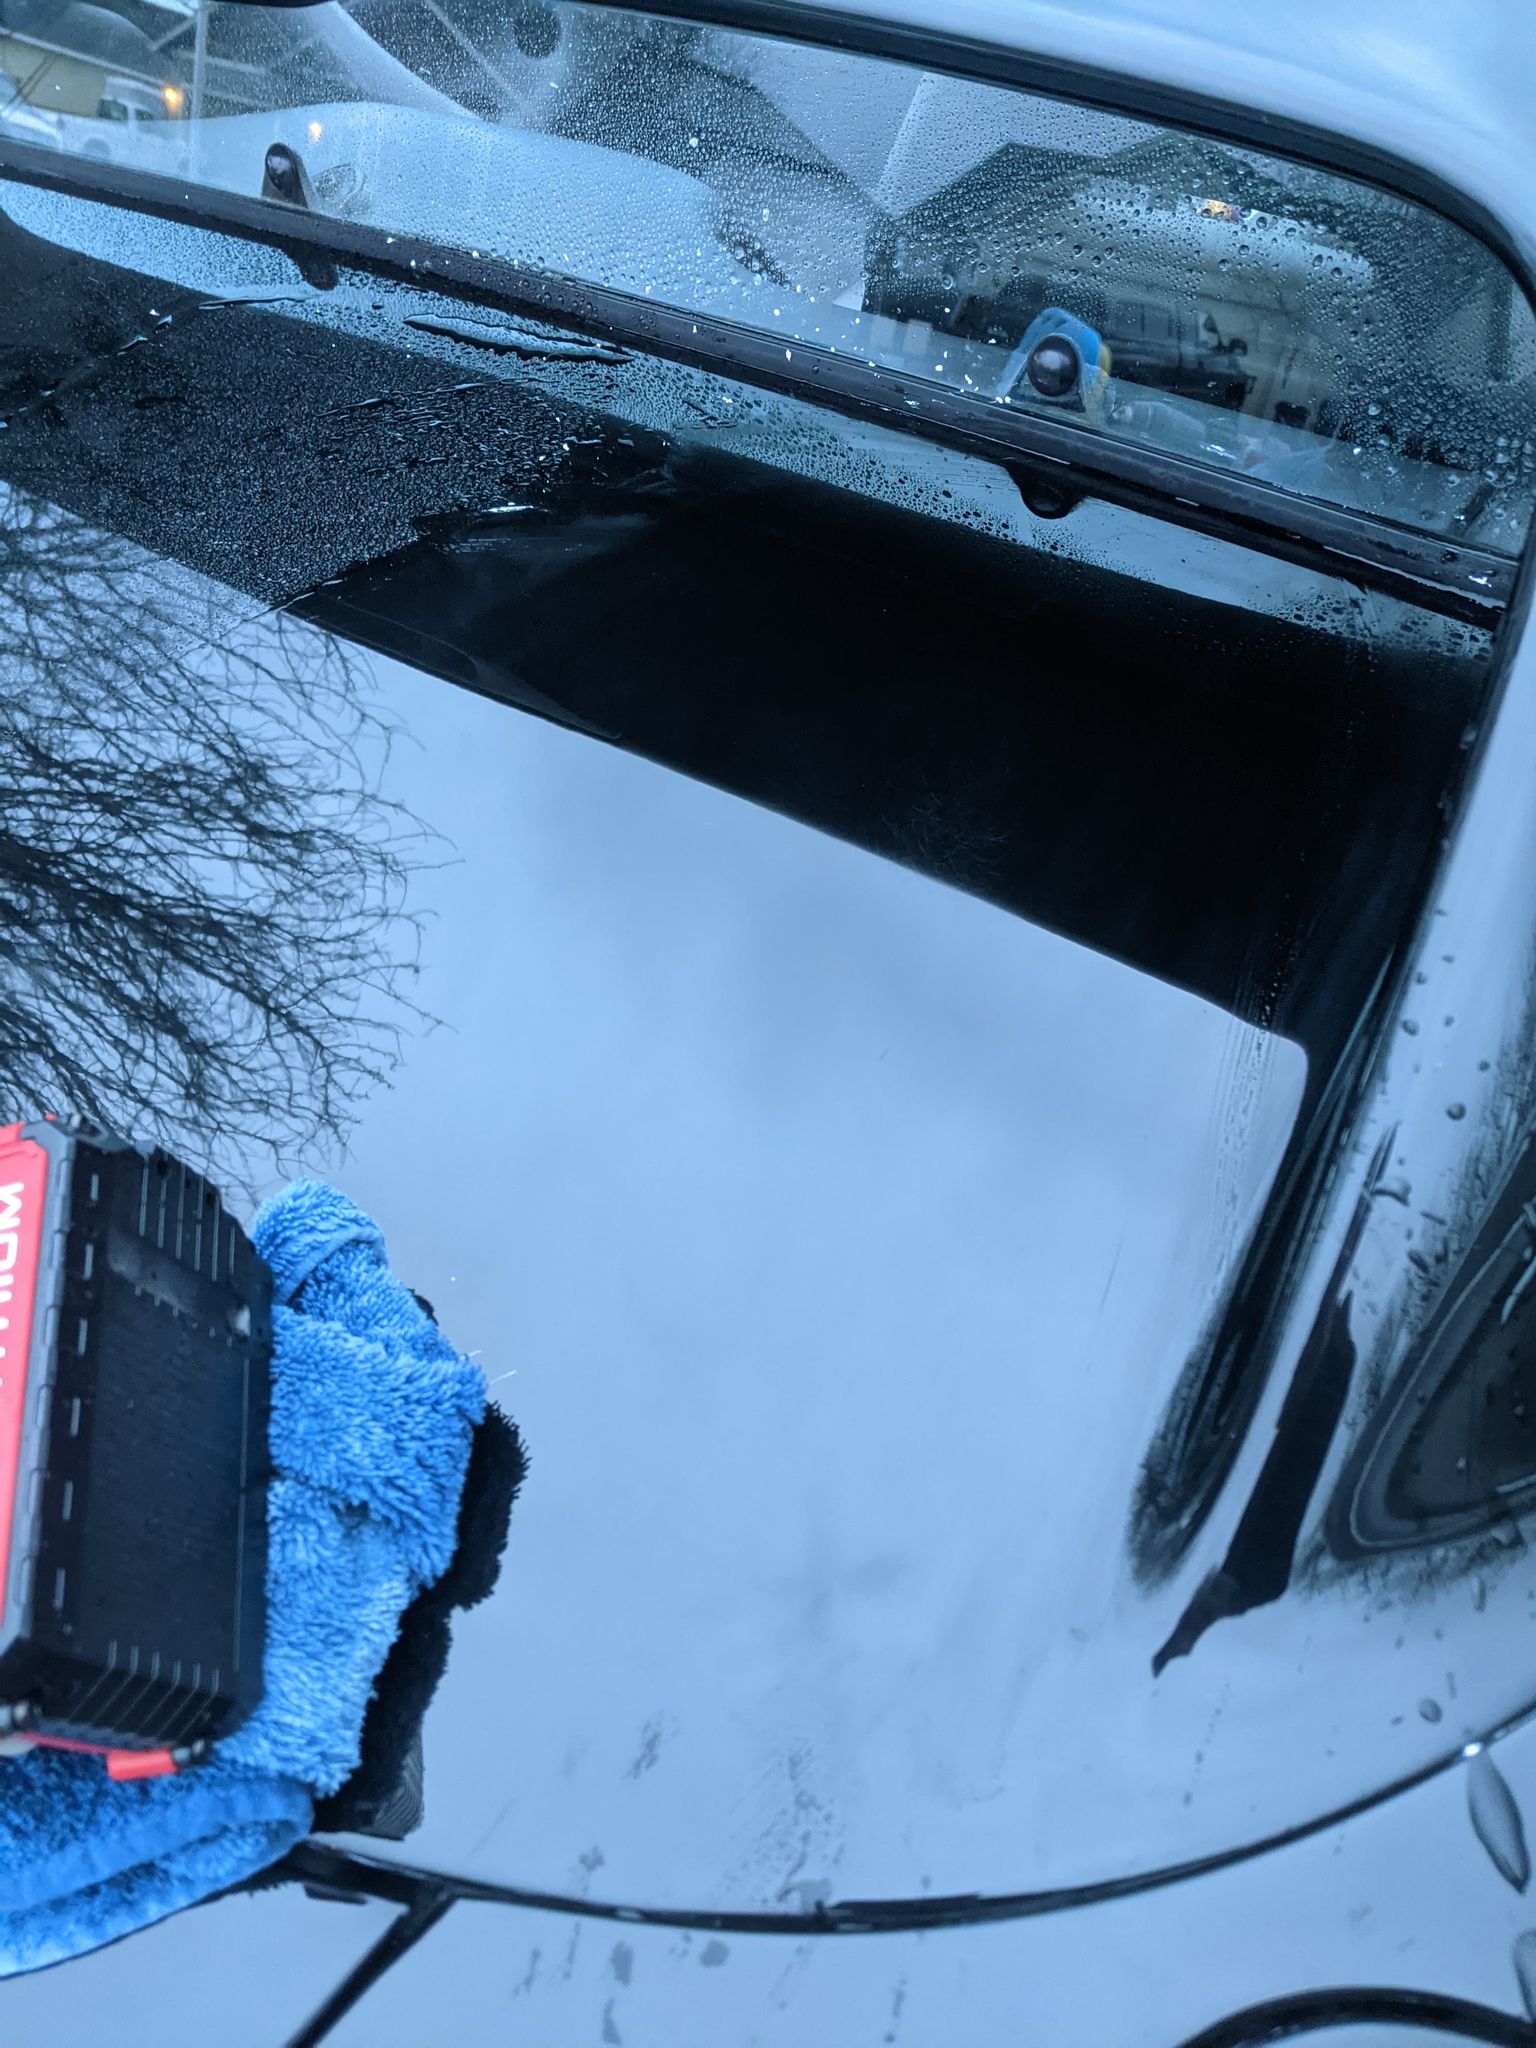
The rear area by the pillar
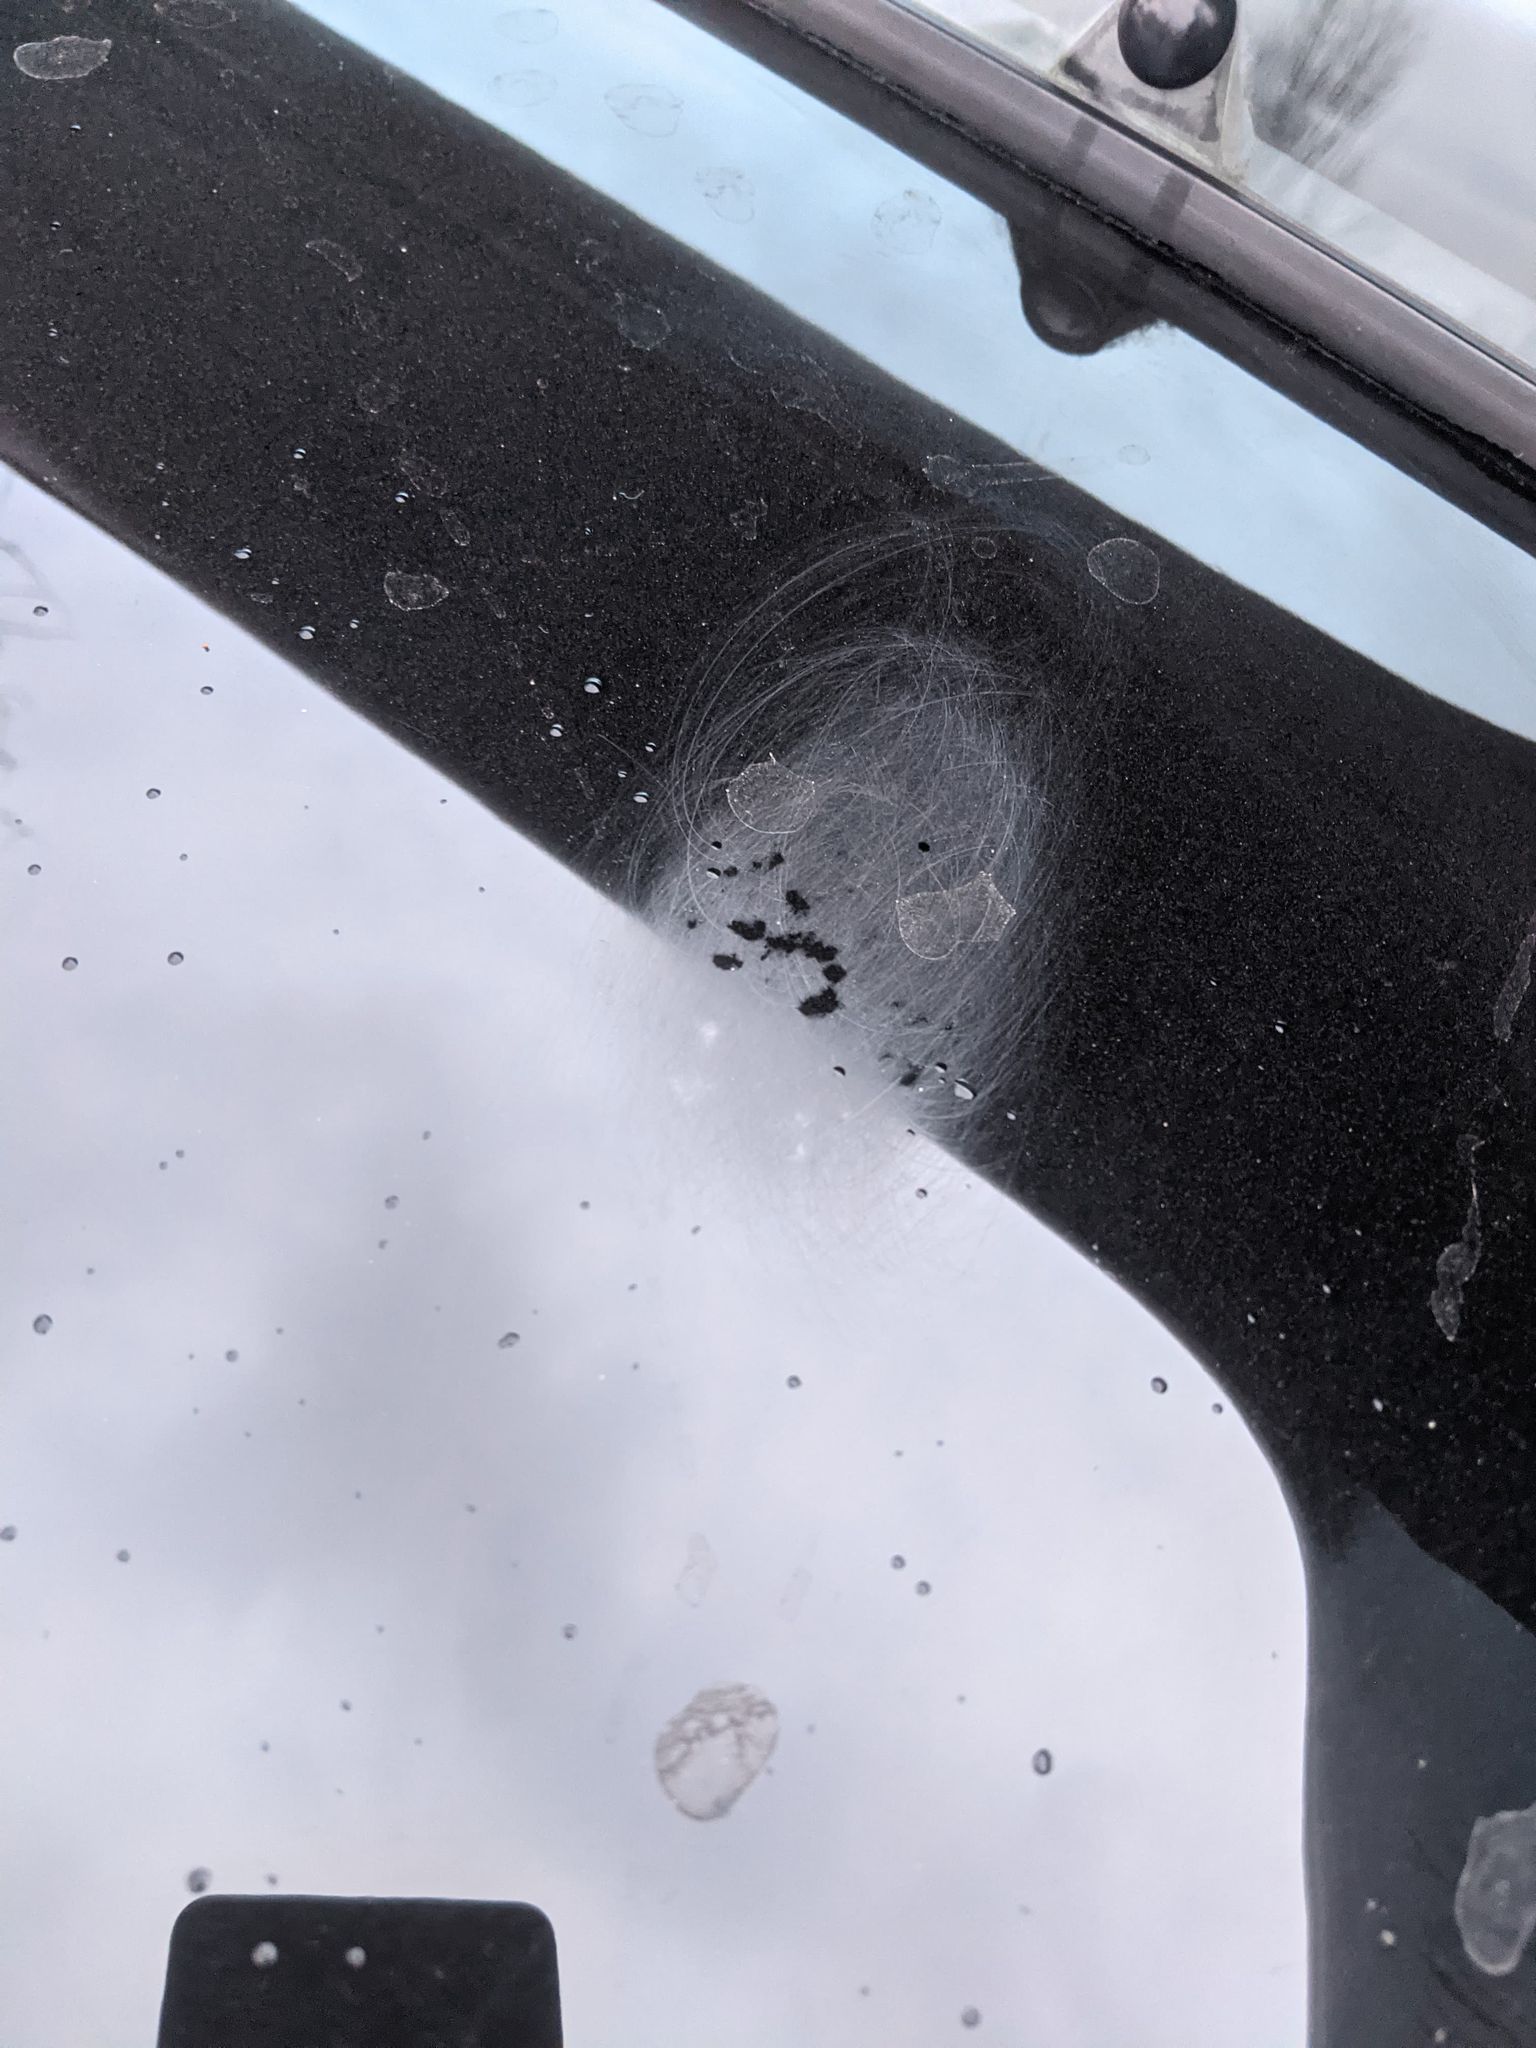
It took several passes, and these scratches are very deep. Was able to make them still look much much better.
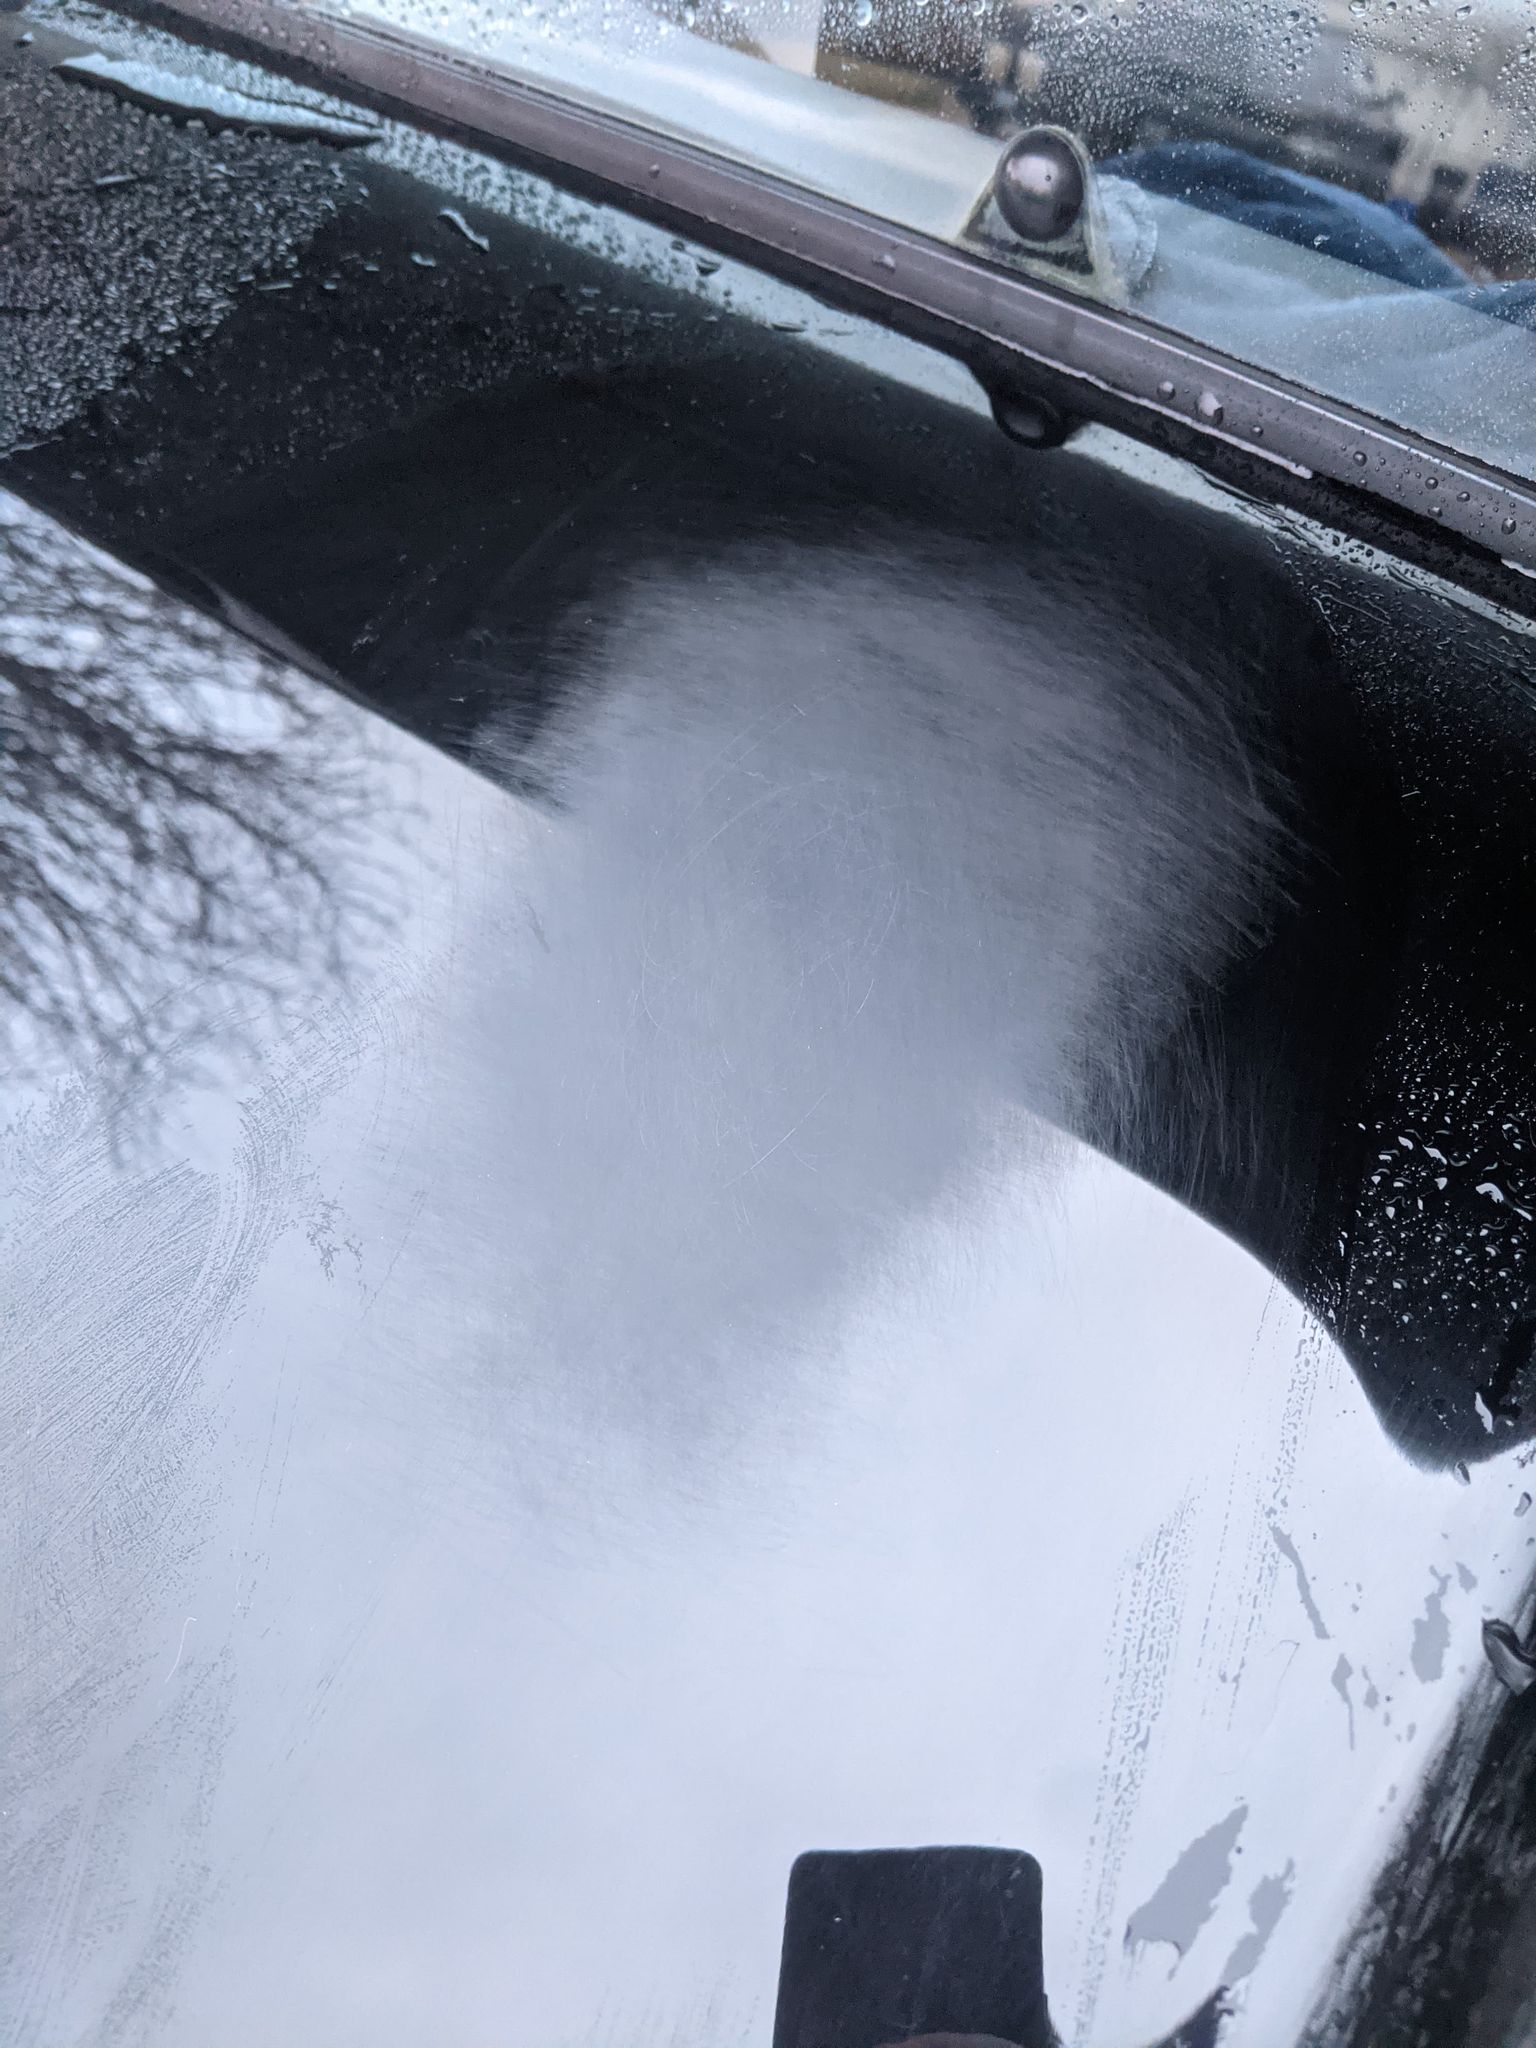
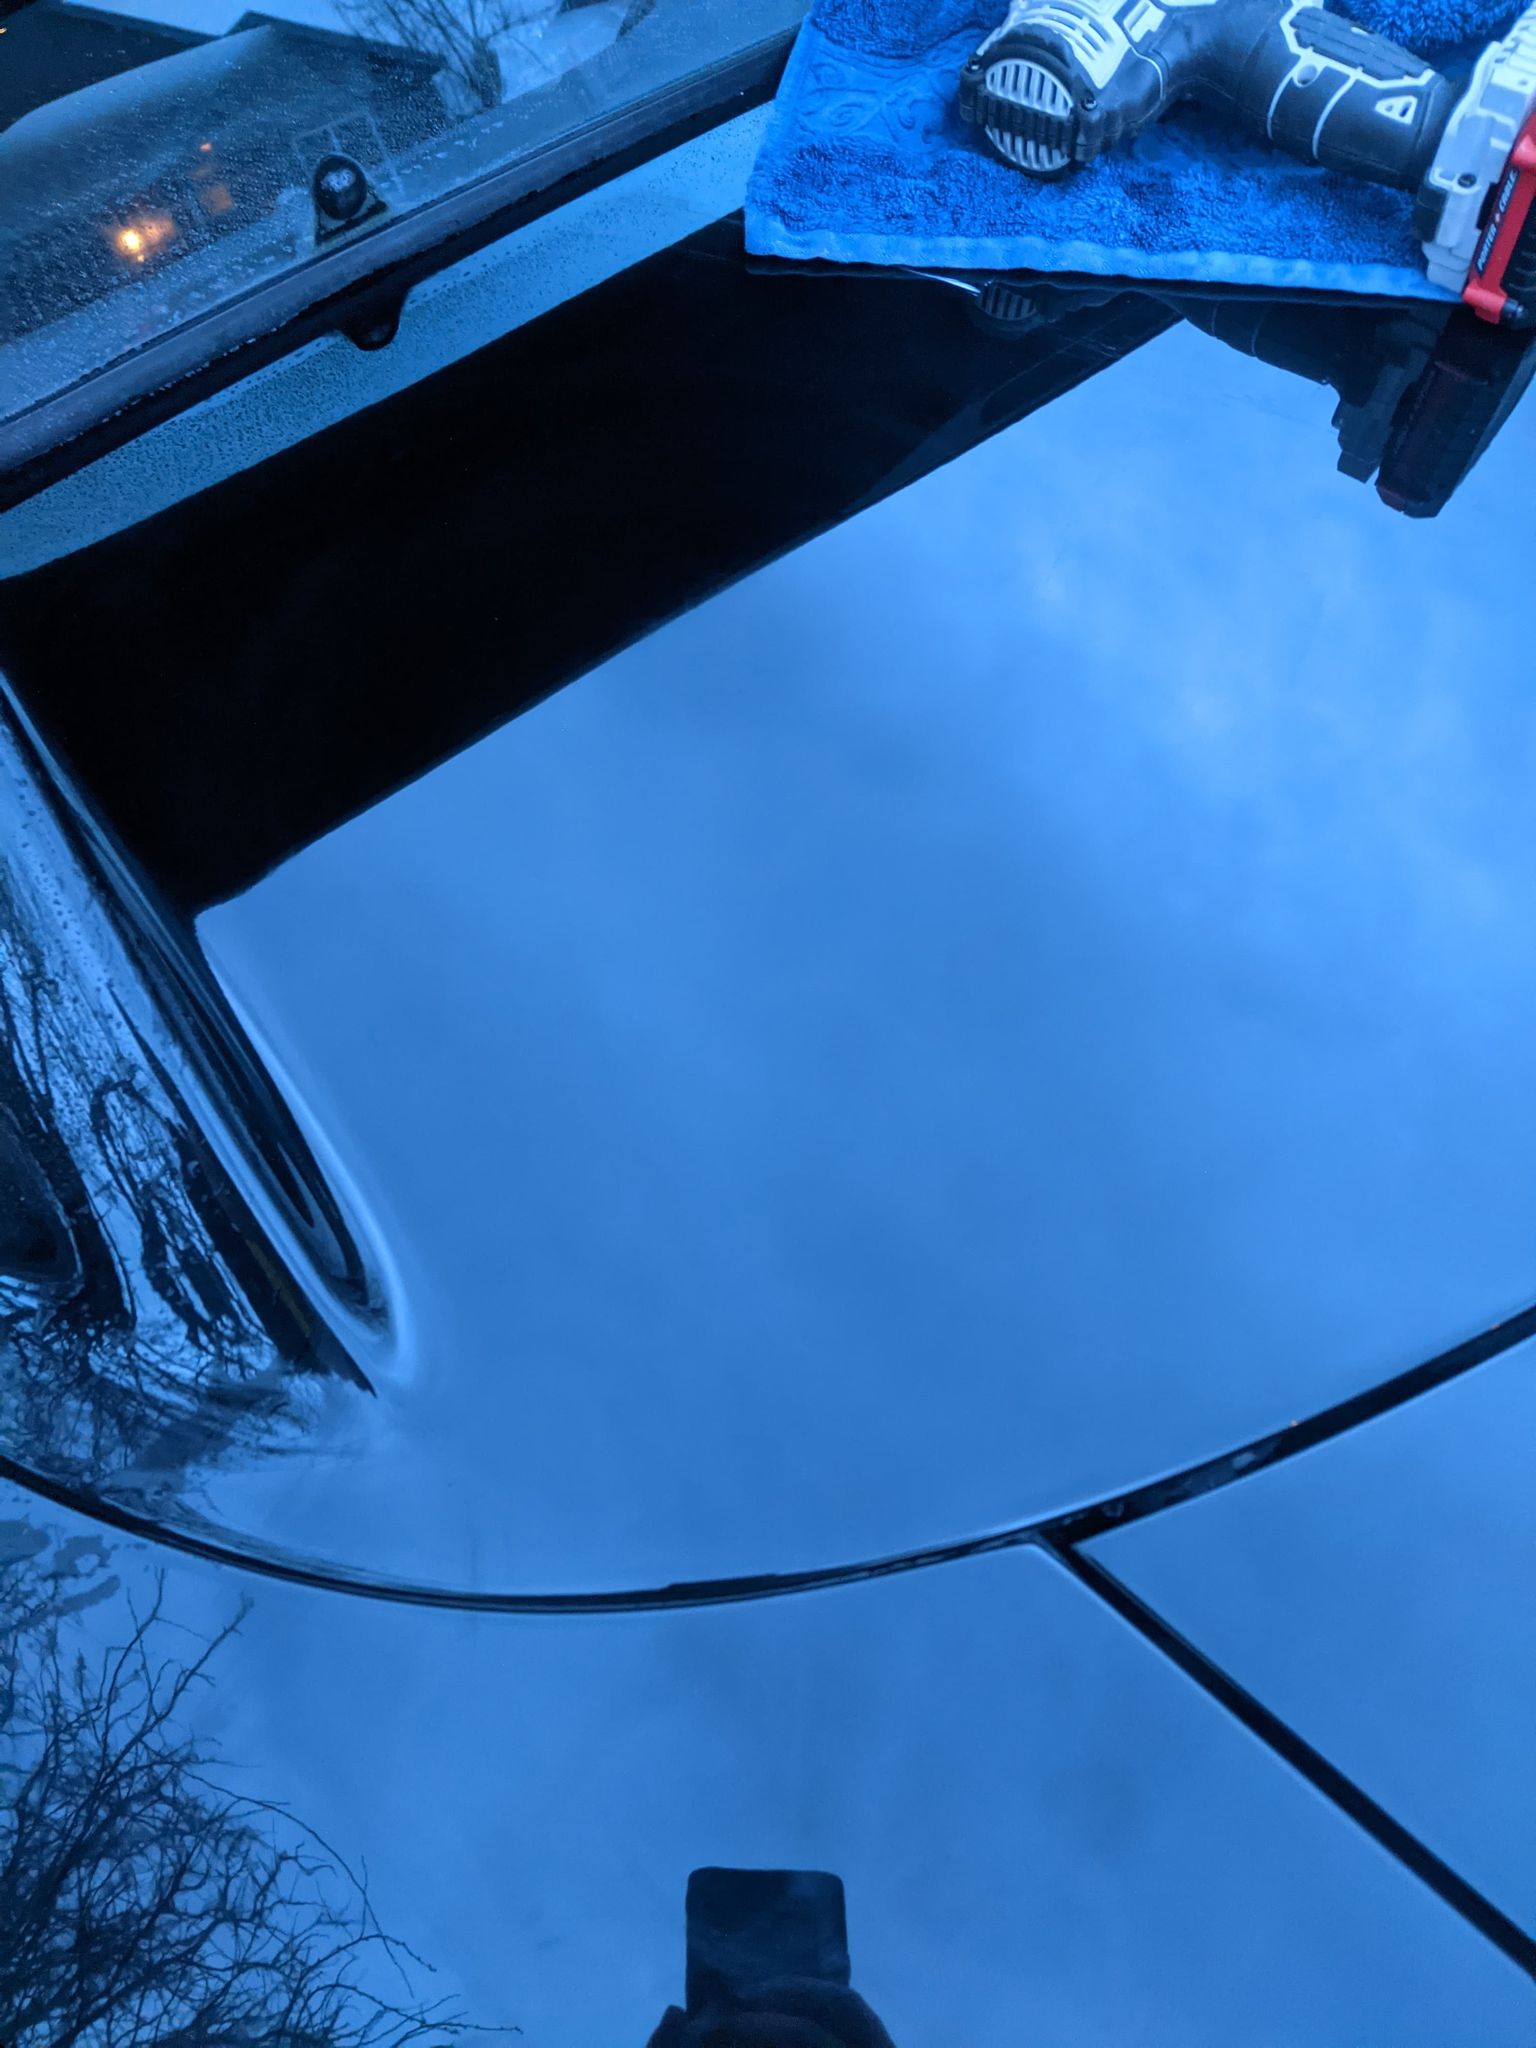
As you can see with the final result, the deepest of scratches are still slightly there, but significantly improved, with the lighter swirled scratches now gone.
You'd have to be right on top of it at the right angle to see them. But this paint will still look far better for years to come. Next step for this car, more paint correction and a ceramic coat!
Would you have guessed there was one in nearly the same spot on the driver side? Well, there was. It's gone now too. Patience, and tenacity for good results, and some practice on something that maybe isn't your car first (I still think sheet metal and spray paint is a great first practice) unless you are not afraid to dive in, and you'll have some fantastic results.
- Log in to post comments