I decided to finally do a ceramic coat on my car since I didn't feel like paying $800 in labor to have someone else do it. I used to do detailing on the side way back in the day, so while it's been a hot minute since I've done stuff like paint correction, it wasn't a foreign concept to me. Now, I wasn't planning on doing a tutorial because I really just was planning on doing this for me, but when I posted my results on facebook, people pm'd me and wanted to know what I used, how I did it, how hard it was, and if they could do it to.
So, here we are.
With a limited toolset, I got fantastic results. Here is a list of everything I got for the job:
Big pack of microfiber towels: $20
Application pads for a cordless drill: $16
Chemical guys Claybar kit: $20
Rubbing Compound: $7
Coating Prep Spray: $15
Avalon King Ceramic Coat Kit: $70
Step 1. Where do we start? Get your car clean. Use a good shampoo, get off every speck of dirt you can find, and any place you could possibly consider doing a ceramic coat. Get that car CLEAN. Remember, if you have a nice shammy, don't drag it, pat it down, wring it out, pat it down, wring it out, repeat. Those crazy swirls you get on your paint over time are usually from people who just use towels to "wipe" the car dry, and that dragging motion just introduces more stuff you have to take care of on paint correction.
Step 2. Claybar it. Now, I don't think it needs to be super obvious, but you don't need a lot of pressure when you claybar. But you do need lubricant. The chemical guys kit I linked is pretty solid and works great and is not highly abrasive, but better, it comes with a lubrication compound. Alternatively if you want, just use water from your hose. Keep the area you're using the clay bar on wet. What you're looking for is to remove all of the crap off the paint that washing can't. As you do this, you'll notice those areas of the paint start to feel silky smooth, this is what we want. It'll remove all the bugs, grime, oils, all the crap that's been stuck to the paint. Once you're done doing the clay bar, use your shammy again to damp it down, dry it as best you can.
Step 3. Onto fixing the paint. Do not do this outside. The rest of the process must be done in a controlled environment. This is a long, drawn out process, not in explanation, but in time. I started at 11am, and wasn't done till about 7pm. Coating the car probably took me an hour or so when it came to the ceramic coat, it was actually very easy. You'll want to start with your buffing compound in areas where there are heavier scratches you want to get out, so anything that's medium or so. I used the BLUE pads from my kit as they were very soft and allowed me to regulate pressure very well. If you've got a cordless drill and a few batteries, you'll probably end up swapping and charging batteries often. I found by the time one ran out, the other was charged, so I didn't really have any downtime with mine, but if you don't have a quick charge hand drill, well, just be prepared for that.
My recommendation is this. As you use the buffing compound, do a roughly 50% overlap. Evenly apply it to an area, do not let the pad run dry or the surface. Buff small sections at a time, and then wipe them down with a microfiber cloth. As you do small areas, look to see how it's turning out and if you're getting the results you want. If it's looking good, keep on going. It may not be necessary to use buffing compound on the whole car, just areas that look like they are in the medium or heavier scratches.
Once you have finished that part, it's time to move to the POLISHING compound. This is the final buffing step before going after the ceramic coat. I found that in some areas, I needed to go over it several times. I found some places from prior ownership that had swirl marks from using a buffer and using the blue path with the polishing compound got those out completely with only minor passes. Some areas I had to pass over multiple times till I was happy. Again, do a 50% overlap on the pad. So if you do a spot, as you move below it, stay 50% within your last pass so you're getting good coverage.
There is no need to use heavy pressure, the compound is supposed to do all the dirty work for you, so use light to medium pressure on it. The nice thing about the blue pad with the extended fingers was that I found it could get into weird areas such as around my headlights where it had some headlight sprayers. It clearly had never been buffed and was oxidized, and it came out looking new.
Do a total wipe down, make sure you get all the compound off, use a flashlight or your phone if needed.
Once the paint looks amazing and you're drooling over it, it's time to move onto the last bit.
Step 4. Cleaning and prepping the surface. With the prep spray, which is generally a type of isopropyl alcohol cleaning spray (except the stuff I got smells like bubblegum and was pretty dope), you'll want to spray the car down in small sections, and then wipe it off with a microfiber towel. It is critical that you do not leave residue on the car. Wipe it all off, get it as clean as you can. Think of this as surgery and in order for it to go successfully, this must be done properly for that last step.
Step 5. Following the instructions on your avalon king kit, you'll want to go through the proper motions. The instructions included are very good and basically recommend you use up to 10 drops of product on the foam block with the applicator pad over it. Then in small cross hatch motions, do small areas at a time, waiting 1-5 minutes after application to lightly buff it with their microfiber cloth. You want to use very light pressure on this, as it isn't hard to do. What you're looking for is an even surface. Remember that the ceramic coat is working its way into the crevasses and imperfections of your paint, and coating it, and is slowly curing and drying. You'll notice as it does this and hits that 1-5 minute mark, it starts to look slightly different. Just gently buff it and wipe it down till you don't see streaks anymore. If you want multiple coats, wait a few hours, come back, and do it again. I did two coats on my car.
One thing to mention, if it feels like the applicator pad is dragging or squeaky, you need to apply more product, or you may be doing too large an area. I found if I went too big of an area, I needed a lot more product to use, so I tried to stick to small areas at a time, doing the cross hatch pattern. There's plenty there, and I think part of me was worried about running out, but I got an easy 2 coats and still have more in the bottom, but my 911 isn't a huge car.
The instructions said that it's about 5 hours if memory served, to be "touch" dry, and I believe 2 hours for dust dry. Remember, your car needs to not get wet for 24-48 hours for the best possible results. So if you can keep it in the garage that's best, although their video I watched did say you can drive the car, just don't run it through water, get it wet, etc.
So that's about it. Really the hardest part of this process is paint correction. Now, you can use whichever buffing and polishing compound you want. If you have a preference, use it. If you like another product, use it. I'm really impressed and VERY happy with the Avalon King package.
I plan on doing the same thing to the paint on my Lamborghini soon, and when I do that, I will take pictures of the entire process since this pass through I was really not planning on doing that, people just asked me and really wanted to know how.
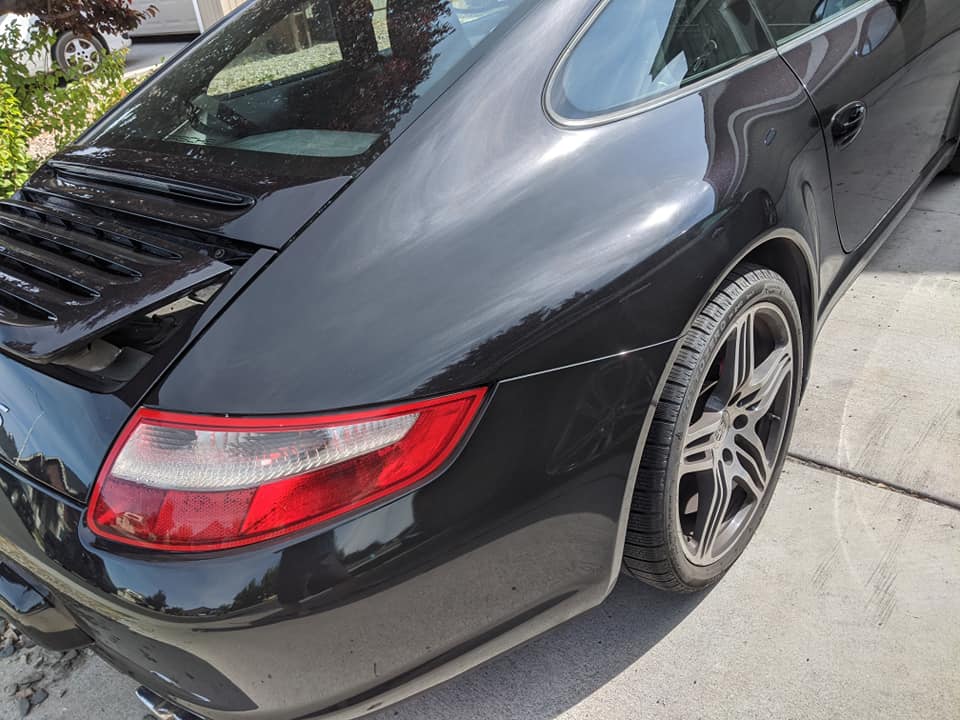
As to the results? Well, I think they speak for themselves. The first below shot the paint is so reflective and clear that the sun beaming off of it can be seen shining back onto the concrete like a damn mirror.
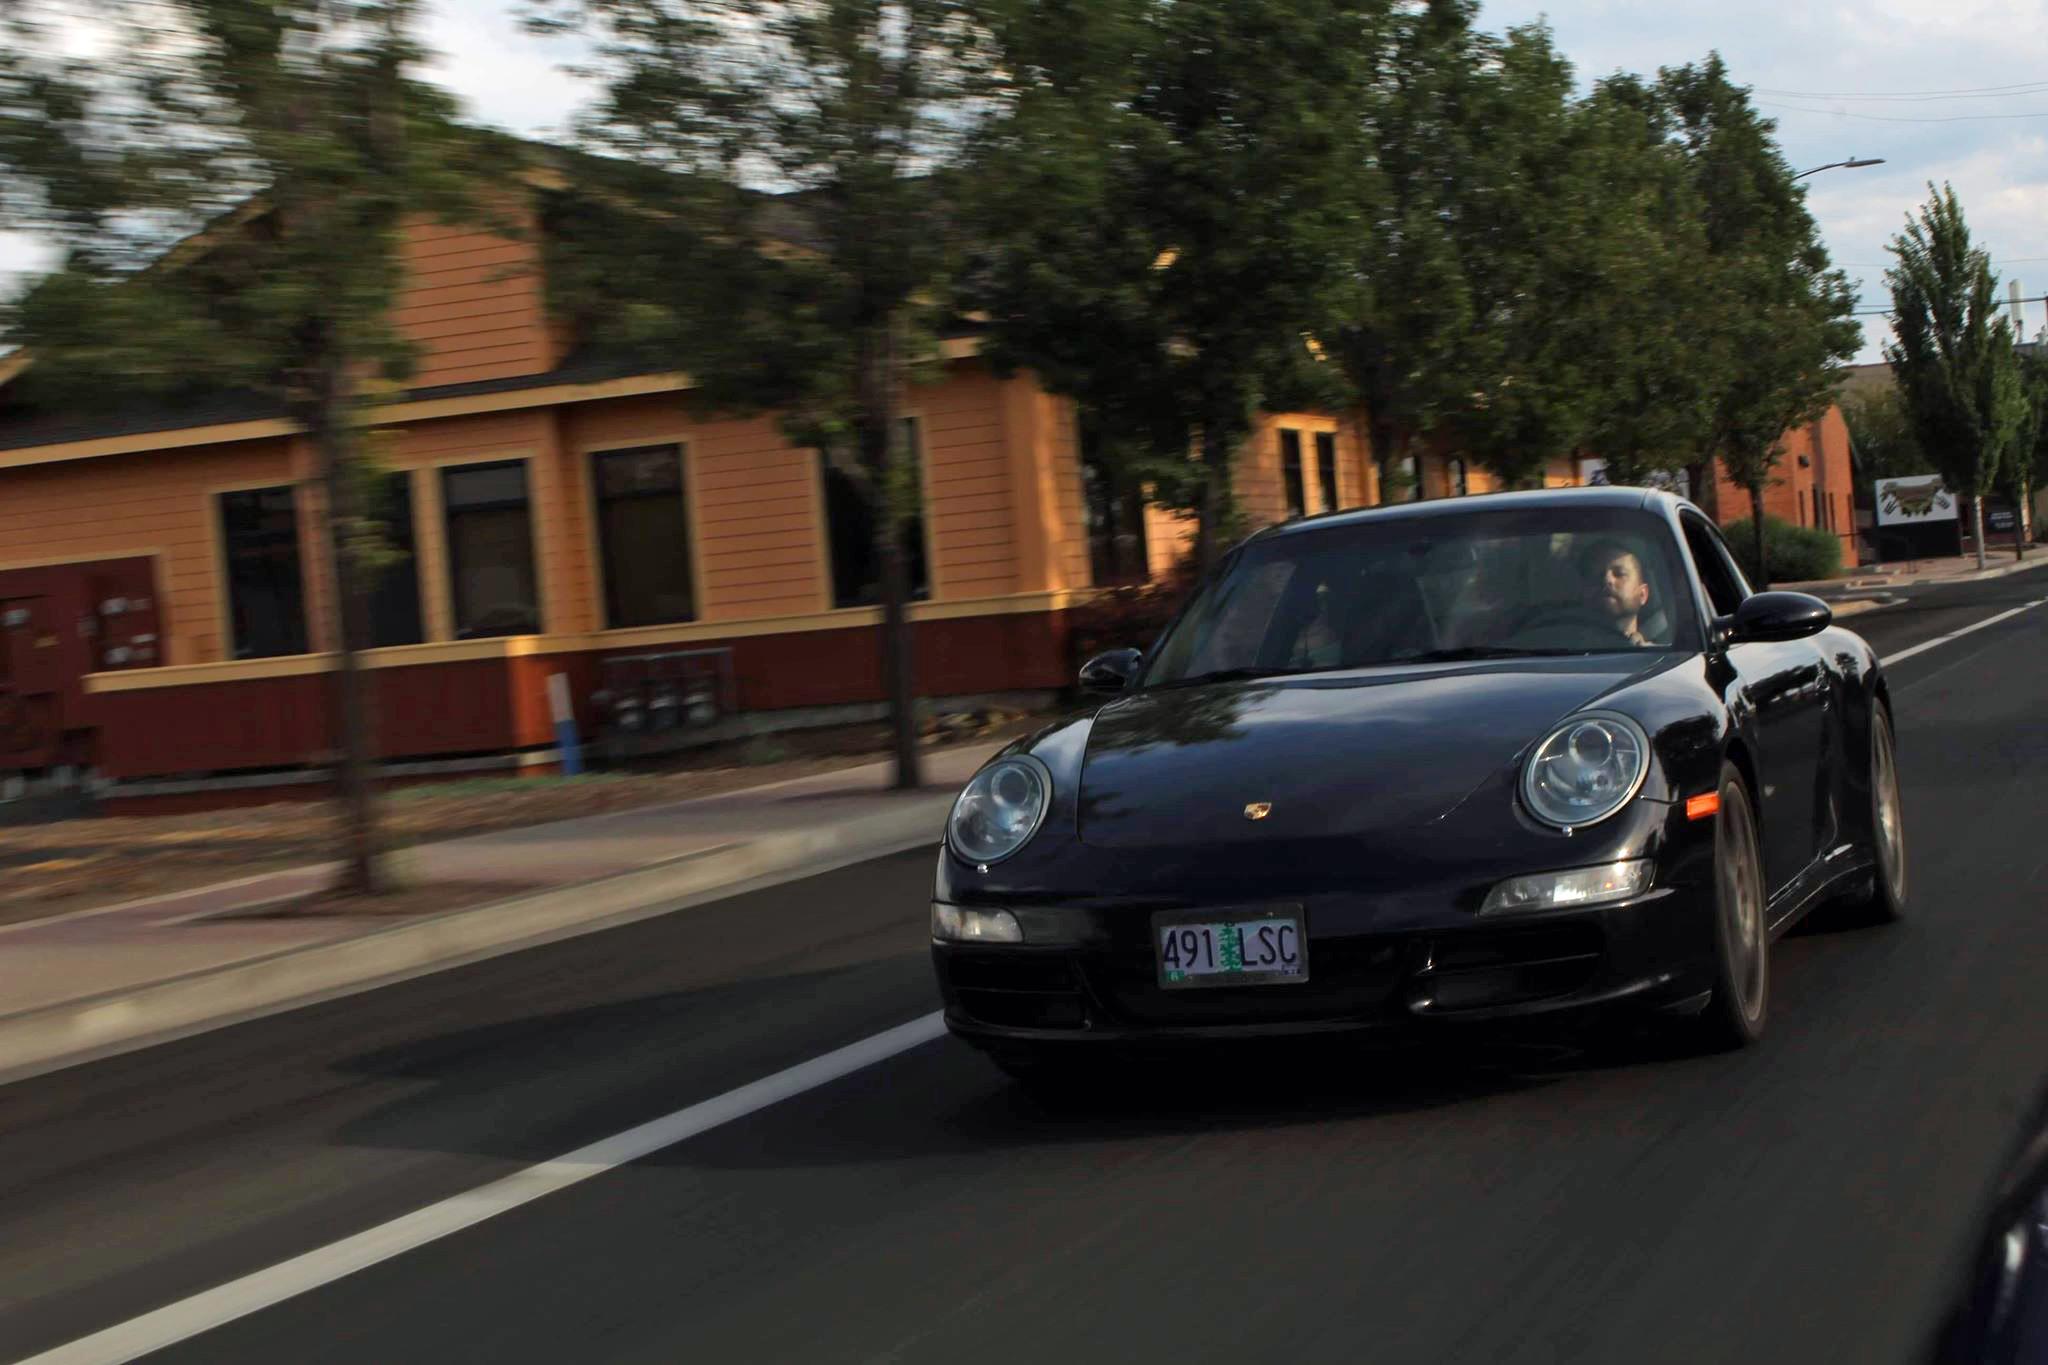
Days later on the road? It looks practically new. Not bad for a 2008 with over 100,000 miles.
- Log in to post comments